3 Alternate Pumpkin Decorating Strategies from USCutter for Halloween!

There’s more than one way to trick out that Halloween pumpkin! Forget free-handing the same ol’ Jack’O’Lantern grin on the pumpkin this year with a magic marker, scooping out the guts with a rusty spoon, and carving it up with that dull old kitchen butcher knife.

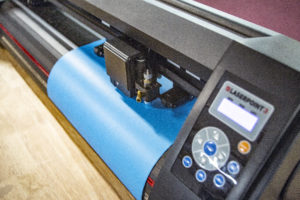
Put your vinyl cutter to work this Halloween for scary professional results. Here are 3 different ways (and there could be many more!) to trick out that orange (or white) porch-piece this holiday, using adhesive vinyl, stencil, and other USCutter products!

More than one way to skin a (black) cat. Here are 3 alternate pumpkin decorating strategies!

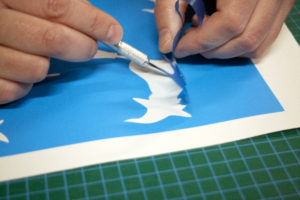
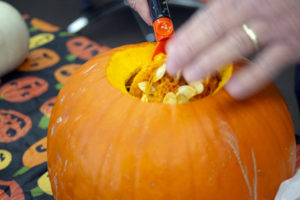
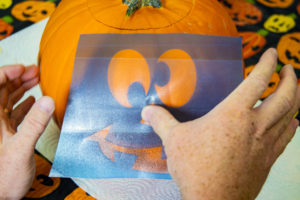
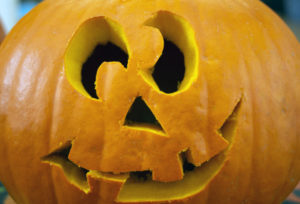
1. The (Somewhat) Traditional Approach. Cut an outline for easy carving with Oramask 813 Paint Stencil!

Step 1: Scoop out the guts!
Step 2; Design or find a vector. Google “free Halloween vectors”!
Step 3: Mask your Oramask 813 paint stencil with medium-tack transfer tape!
Step 4: Carefully apply to a washed pumpkin surface!
Step 5: Use your handy pumpkin saw to carve out the exposed flesh!
Step 6: Voila! So easy!

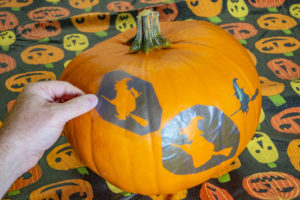
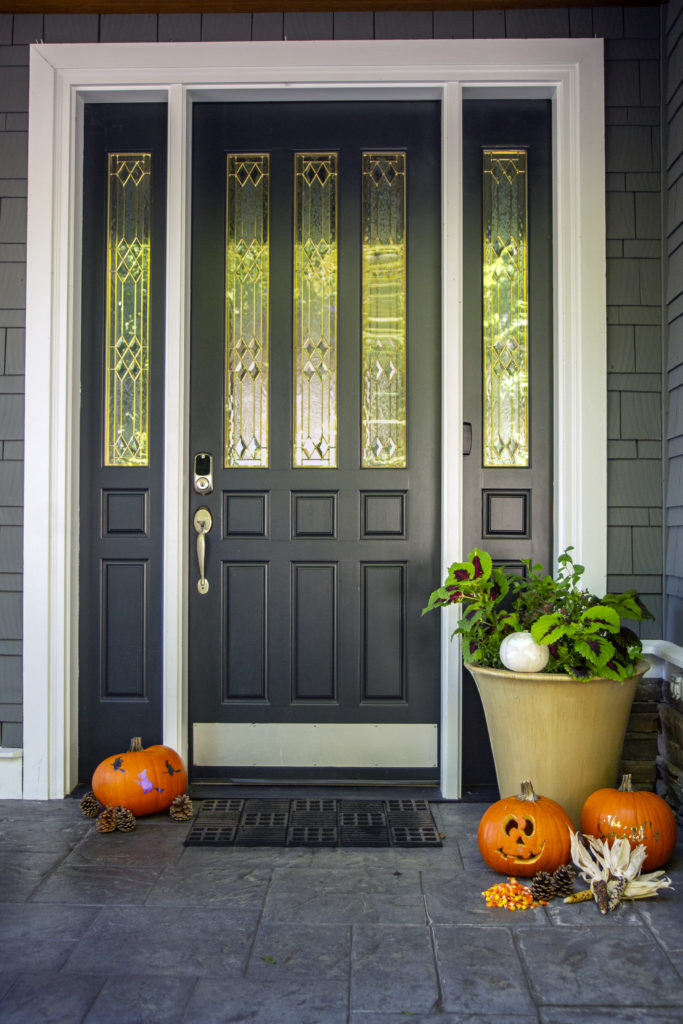
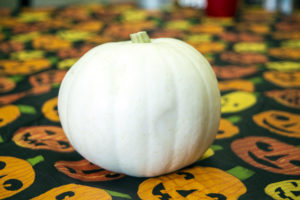
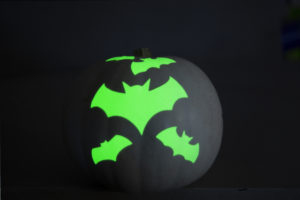
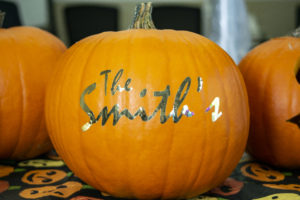
2. Decorate your pumpkin with adhesive vinyl decals. Gold Leaf adds a touch of class. Glow-in-the-Dark Siser EasyPSV adds some eerie ambiance to this Snowbaby pumpkin!

Step 1: Cut and weed Siser EasyPSV Glow-in-the-Dark. We used bats!
Step 2: Find a scary blank white canvas Snowbaby pumpkin!
Step 3: Charge the receptors in the vinyl in light. Then watch it light up at night!
Step 4: Get a distinguished look with this Gold-Leaf style Griff vinyl!

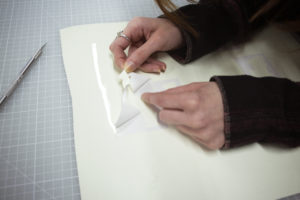
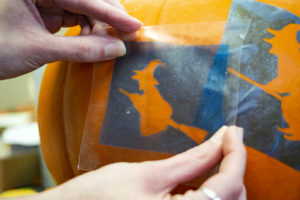
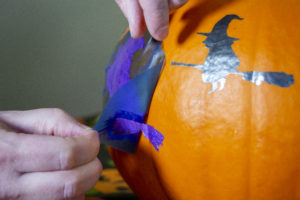
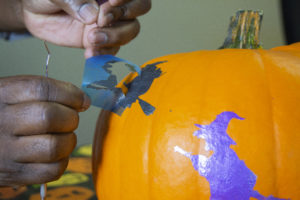
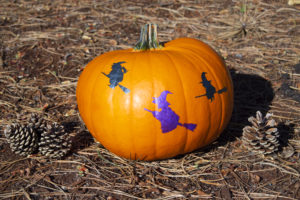
3. The Pro Level. Paint your own pumpkin with Oramask 813 paint mask stencil for a fabulous looking porch piece that won’t rot!

Step 1: Weed your witch! Find your free vector of choice or make your own!
Step 2: Apply the weeded stencil to the washed pumpkin!
Step 3: Draw the eye with some movement of multiple designs!
Step 4: Dab a conservative amount of acrylic craft paint through the stencil onto the clean surface!
Step 5: Saturate the exposed pumpkin so no orange peeks through. REMOVE THE STENCIL IMMEDIATELY WHILE THE PAINT IS STILL WET!
Step 6: If you don’t the paint will bond to the stencil as it cures and it will all rip off together!
Step 7: It’s an amazingly beautiful pumpkin!
HAPPY HALLOWEEN!