Make your own Halloween Special Effects: Glow in the Dark Vinyl Reveals!

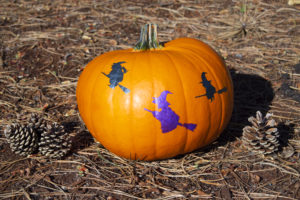
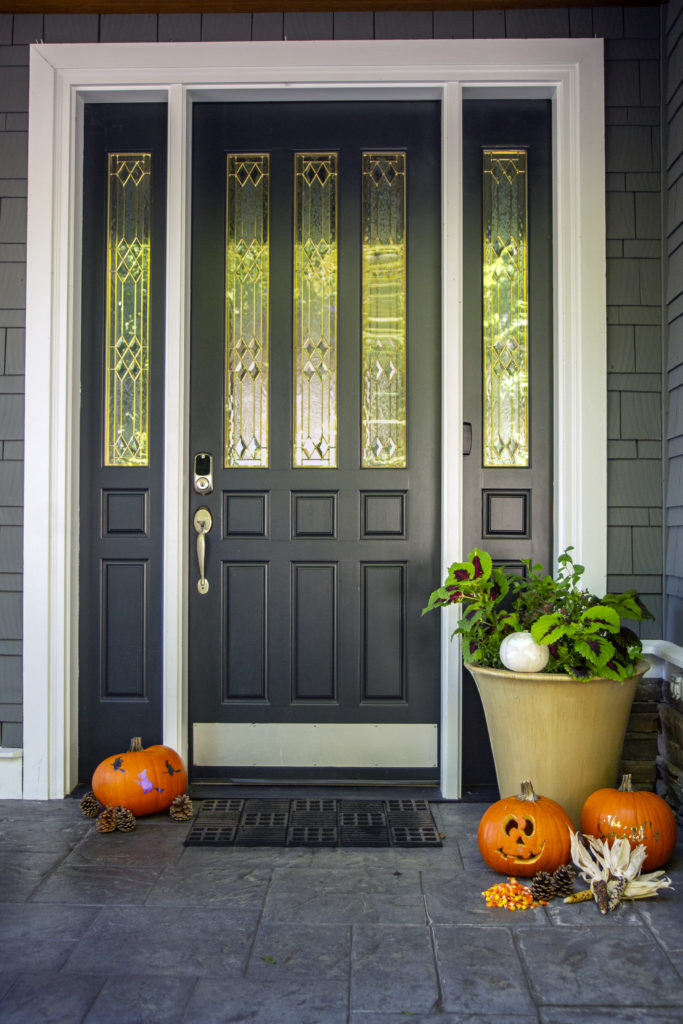
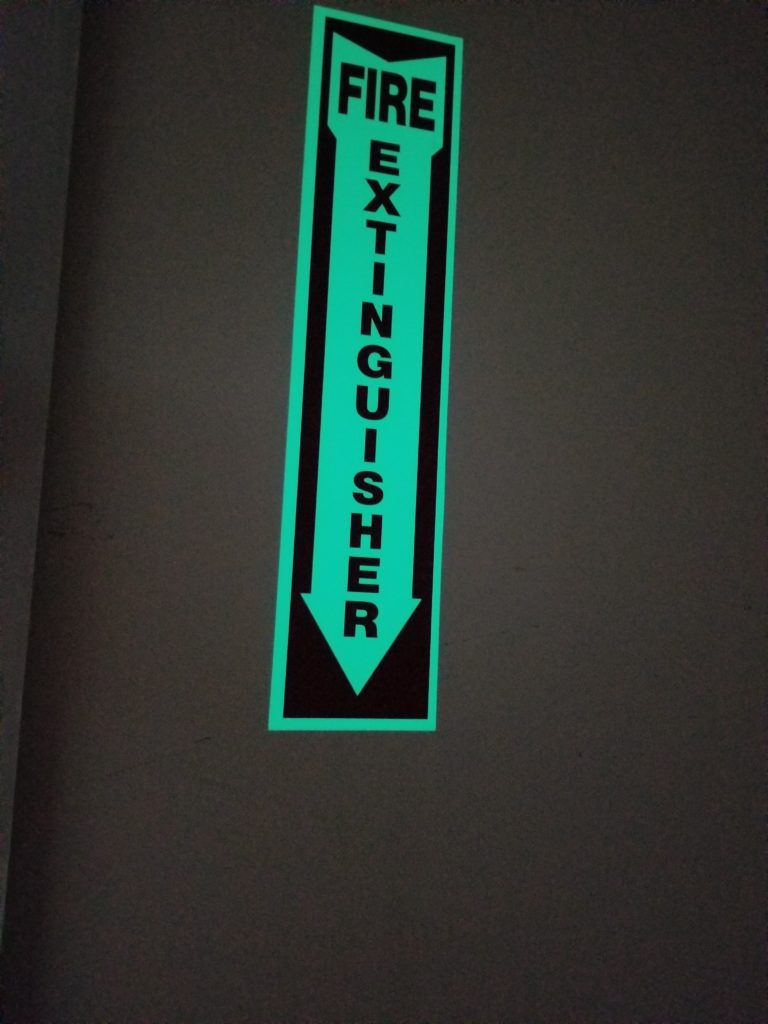
It’s that spooky season again, when the moon seems to bathe everything in an eerie glow… Read on for details on how to add some Hollywood movie magic to Halloween costumes, trick-or-treat bags, and other items, using Siser Glow-in-the-Dark adhesive and heat transfer vinyl.

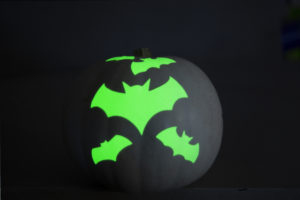
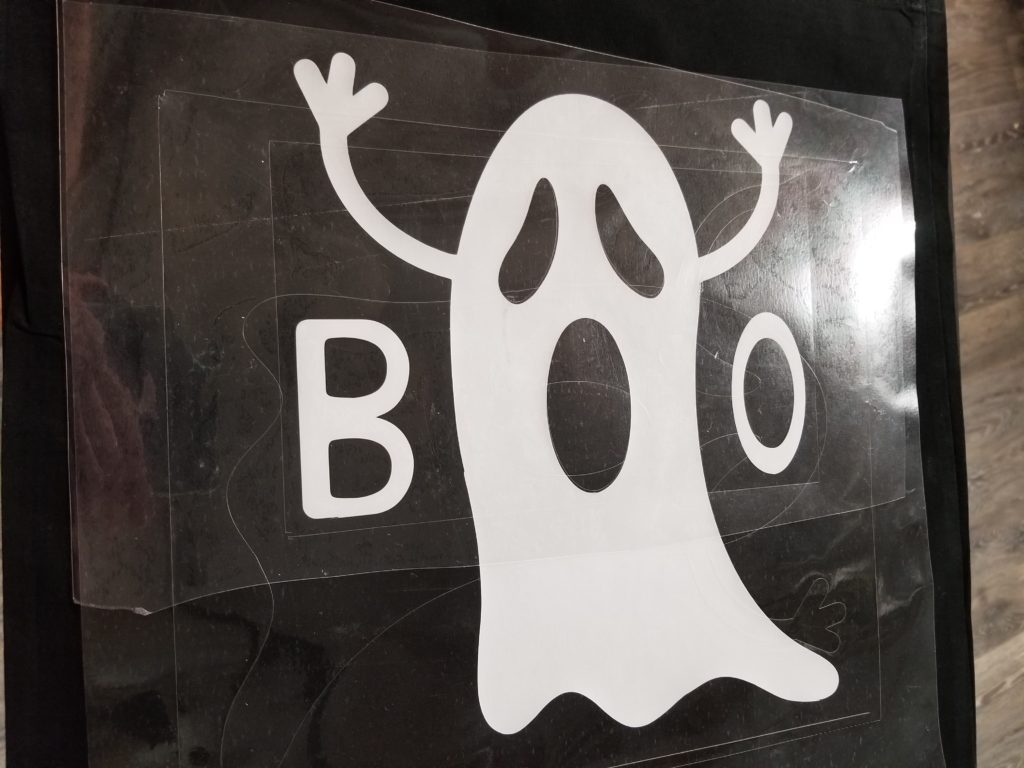
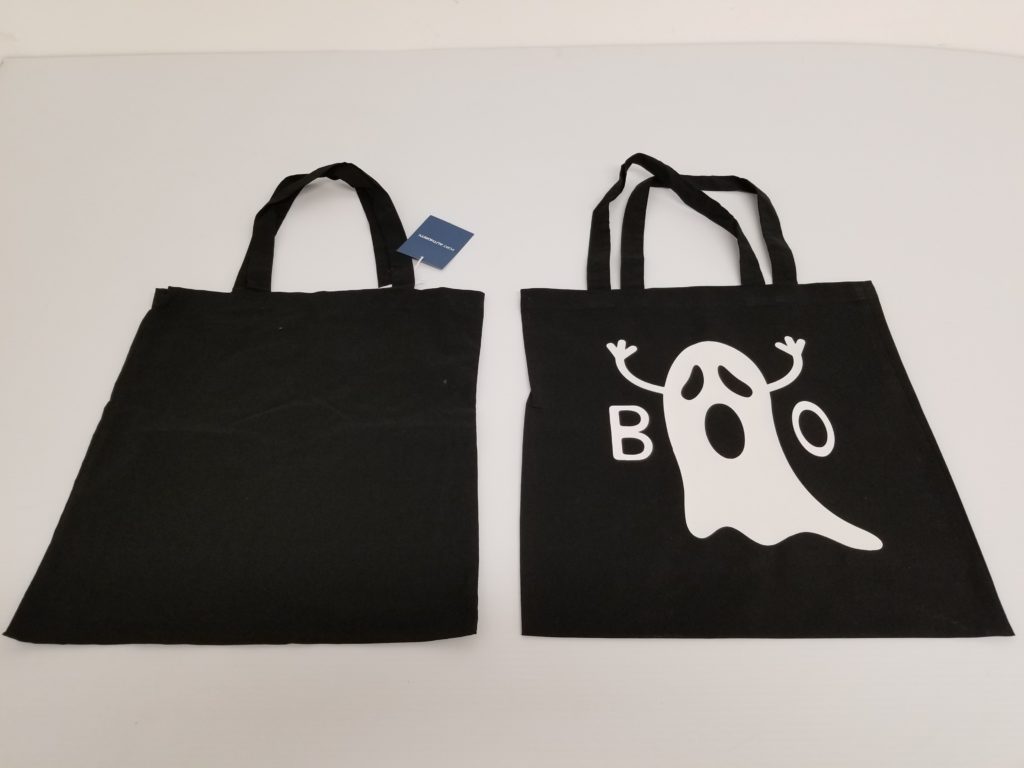
Now you see it now you don’t!

With a little creativity and a little (night) vision, you can create a scary reveal on any light or dark colored fabric or apparel blank.

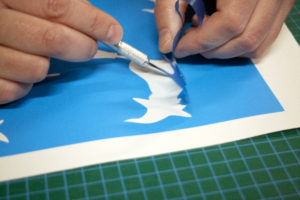
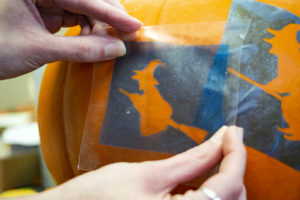
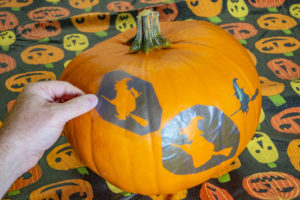
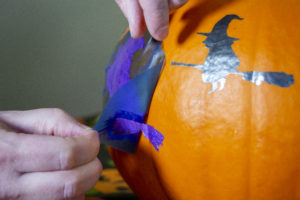
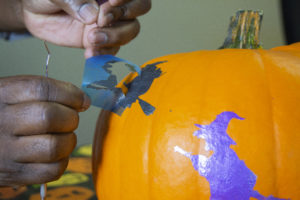
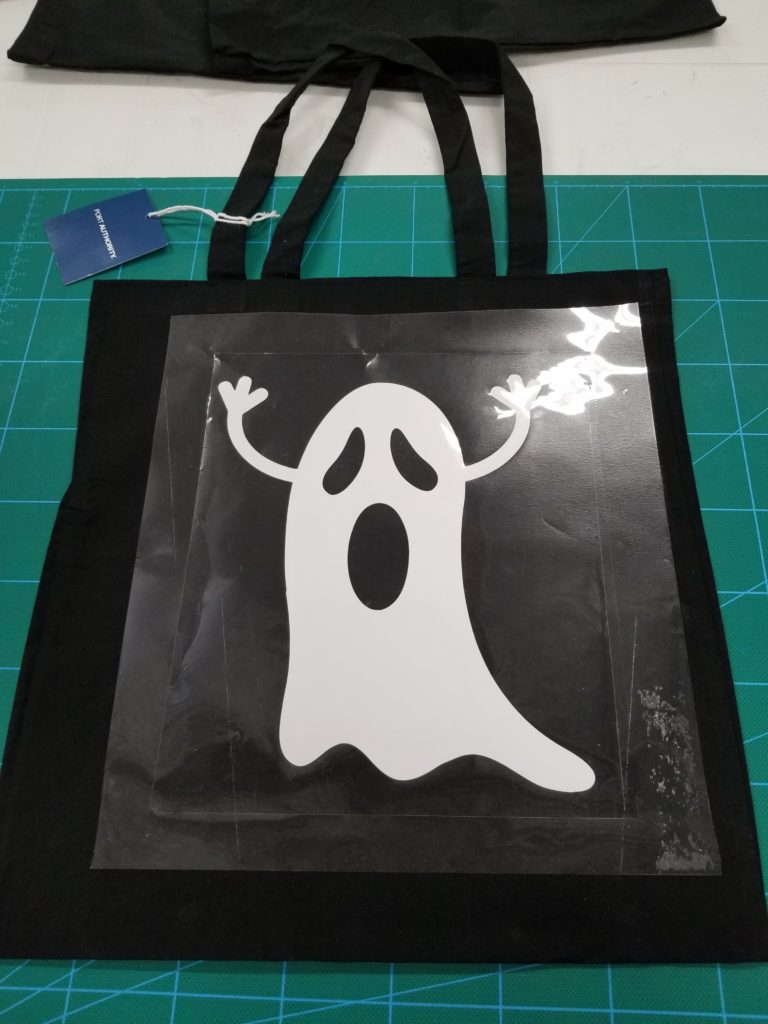
Steps to Make Spooky Reveal Trick-or-Treat Bag:

Step 1: First, you’ll need both some Siser Glow-in-the-Dark and solid-white heat transfer vinyl, and a blank canvas or fabric bag (all available at USCutter.com!)
Step 2: Vectorize your spooky Halloween cutfile. Separate the cut jobs into white vinyl for the part of the design that will be visible in daylight, and glow-in-the-dark (appears like white) vinyl for the part of the design you want to illuminate the darkness.
Step 3: Put down the Glow-in-the-Dark layer first, then briefly tack the heat transfer onto the bag’s facing for 5 seconds. Then lay down the layer of white vinyl, and follow the recommended pressure and temperature settings on your heat press for the full duration of the heat press cycle.
Step 4: Voila!
Note: you can do similar effects on shirts or other fabrics, including dark colors.
Also, don’t limit your imagination to Halloween (see this cool glow-in-the-dark directional signage made from Siser EasyPSV Glow-in-the-Dark adhesive vinyl)…
or vinyl (check out this cool dye-sublimation printed trick-or-treat bag!)…

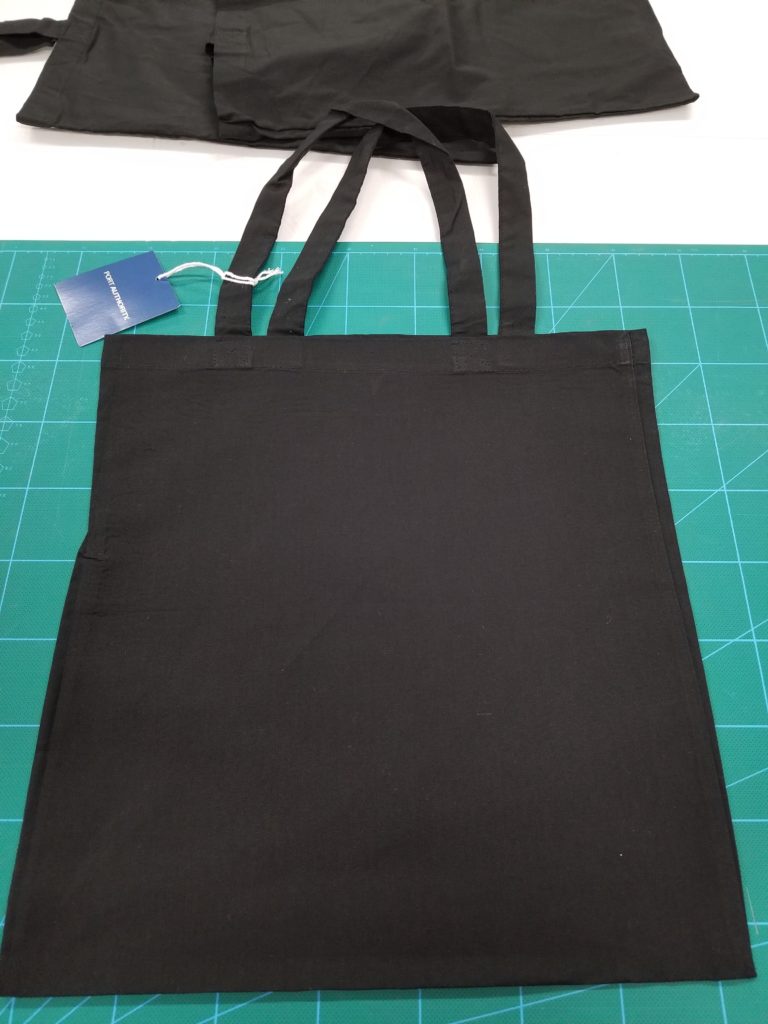
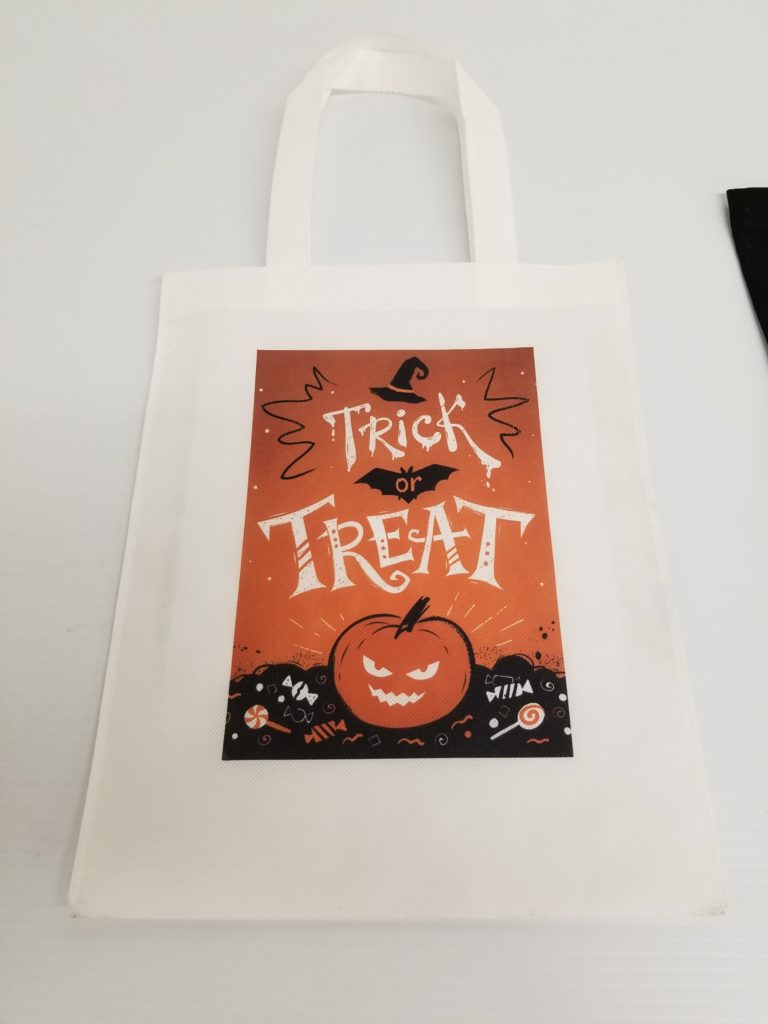
Get Glow-in-the-Dark adhesive vinyl, HTV, trick-or-treat bag, and more materials in our special seasonal Halloween Grab Bag bundle! Only $19.95 while supplies last!

Decorate a Spooktacular Haunted House with Indoor Vinyl!

Everyone knows it’s what’s on the inside that counts. Even on Halloween night!

People’s skeletons are on display. Our imaginations come out to play.

A good haunted house is so much more than a spooky exterior…here are just a few ideas on how to stage some indoor vinyl graphics for maximum spook factor!

Watch that first step, it’s a doozy! Trick out your staircase!
Having a few bats on the mantel does not necessarily make you mantelly batty!

Indoor removable wall vinyl graphics are easily cuttable from any vector file on your vinyl cutter. Apply with a medium (not-too-aggressive) transfer tape such as Oratape HT55 so as not to damage the paint on your walls. Certain new low VOC paints are not recommended for vinyl installation.

Removable adhesive is also good for temporary decals on windows that come off easily without residue!
Ditto for glassware. Dress up your drinking glasses with spooky temporary clean-removing decals!

3 Alternate Pumpkin Decorating Strategies from USCutter for Halloween!

There’s more than one way to trick out that Halloween pumpkin! Forget free-handing the same ol’ Jack’O’Lantern grin on the pumpkin this year with a magic marker, scooping out the guts with a rusty spoon, and carving it up with that dull old kitchen butcher knife.

Put your vinyl cutter to work this Halloween for scary professional results. Here are 3 different ways (and there could be many more!) to trick out that orange (or white) porch-piece this holiday, using adhesive vinyl, stencil, and other USCutter products!

More than one way to skin a (black) cat. Here are 3 alternate pumpkin decorating strategies!

1. The (Somewhat) Traditional Approach. Cut an outline for easy carving with Oramask 813 Paint Stencil!

Step 1: Scoop out the guts!
Step 2; Design or find a vector. Google “free Halloween vectors”!
Step 3: Mask your Oramask 813 paint stencil with medium-tack transfer tape!
Step 4: Carefully apply to a washed pumpkin surface!
Step 5: Use your handy pumpkin saw to carve out the exposed flesh!
Step 6: Voila! So easy!

2. Decorate your pumpkin with adhesive vinyl decals. Gold Leaf adds a touch of class. Glow-in-the-Dark Siser EasyPSV adds some eerie ambiance to this Snowbaby pumpkin!

Step 1: Cut and weed Siser EasyPSV Glow-in-the-Dark. We used bats!
Step 2: Find a scary blank white canvas Snowbaby pumpkin!
Step 3: Charge the receptors in the vinyl in light. Then watch it light up at night!
Step 4: Get a distinguished look with this Gold-Leaf style Griff vinyl!

3. The Pro Level. Paint your own pumpkin with Oramask 813 paint mask stencil for a fabulous looking porch piece that won’t rot!

Step 1: Weed your witch! Find your free vector of choice or make your own!
Step 2: Apply the weeded stencil to the washed pumpkin!
Step 3: Draw the eye with some movement of multiple designs!
Step 4: Dab a conservative amount of acrylic craft paint through the stencil onto the clean surface!
Step 5: Saturate the exposed pumpkin so no orange peeks through. REMOVE THE STENCIL IMMEDIATELY WHILE THE PAINT IS STILL WET!
Step 6: If you don’t the paint will bond to the stencil as it cures and it will all rip off together!
Step 7: It’s an amazingly beautiful pumpkin!
HAPPY HALLOWEEN!