Hat Tricks: Helpful Tips to Get Good Results with a Hat Press

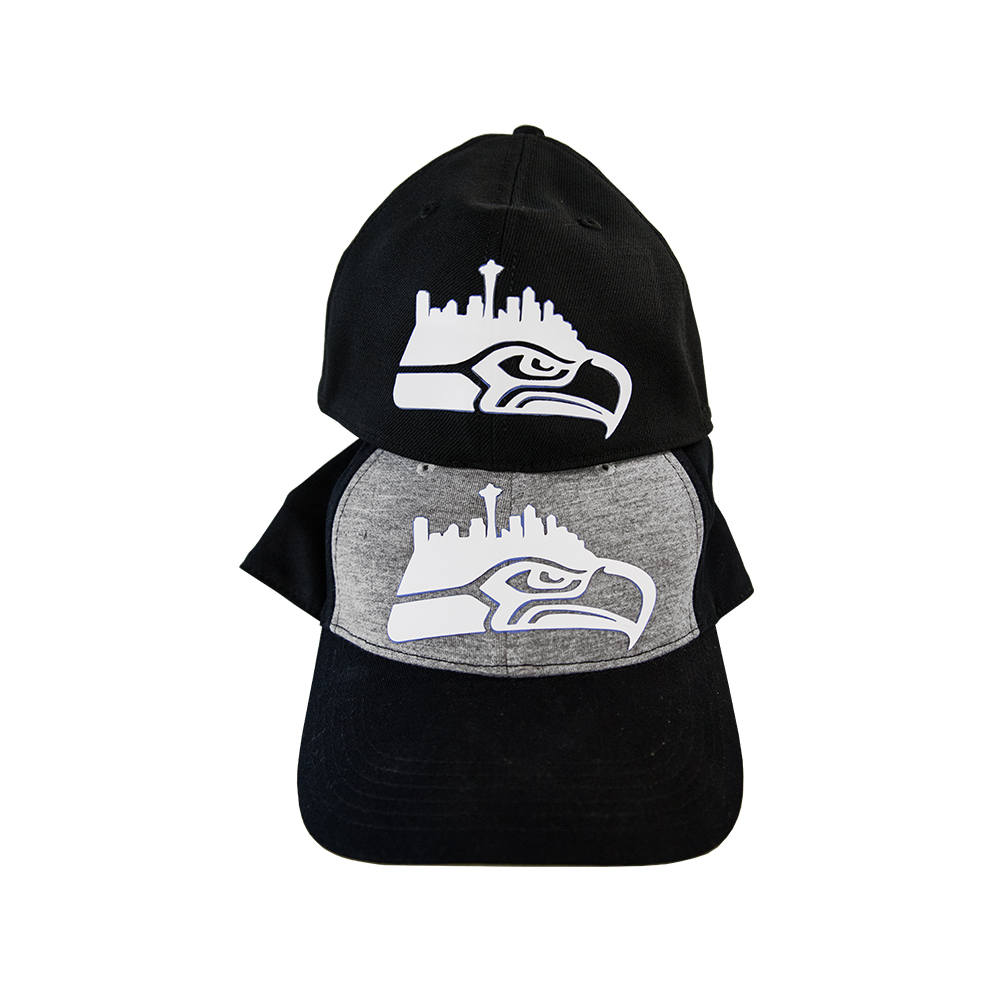
Have you ever tried to decorate a baseball cap with heat transfer vinyl before?

Custom hat production can definitely be a little tricky. So we’ve put together a few tips along with a video demonstration of how to get good results with your USCutter heat press every time, whether it’s a structured or unstructured hat.

First of all, why hats? Well, here’s the math: we’ve costed it out and it’s only about $3.18 in supplies and capital investment to add hat production to your quiver of output possibilities. If you can sell a hat for $10 or more, that’s equal to big profits!

Beginners might find it a little challenging to get started, but here’s the skinny on the 2 biggest problems customers face with the blanks and their equipment:

Problem #1: Undesirable crease marks, pinching, lack of smoothness, and inconsistencies in application

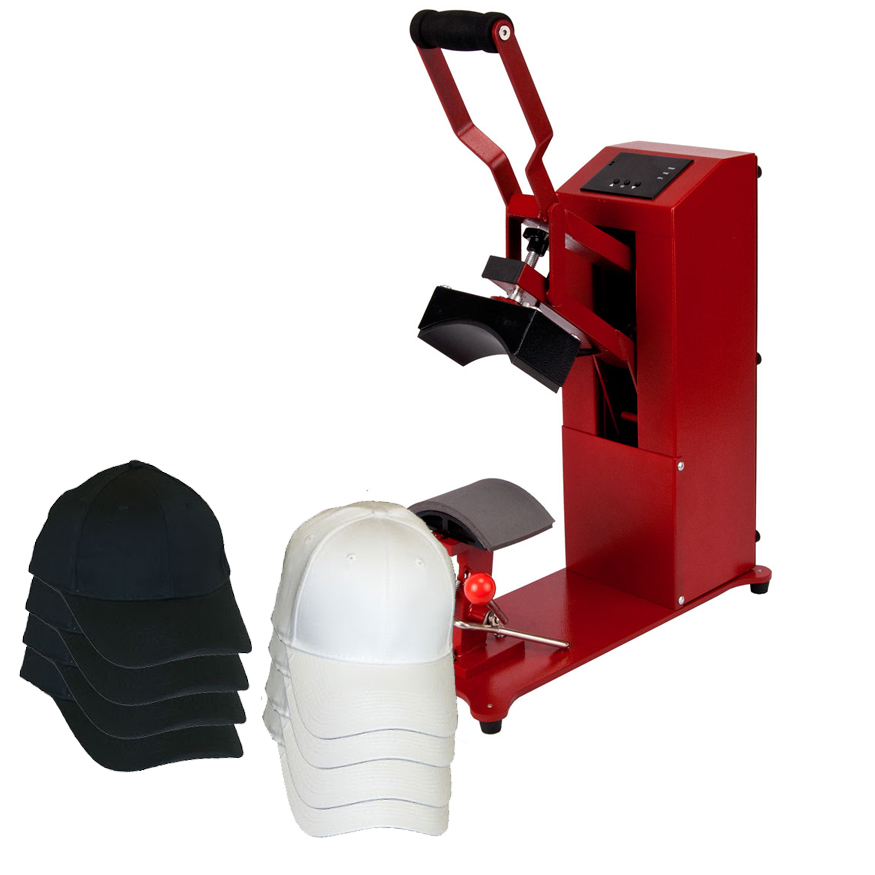
Solution: Use a mini heat press pillow, tucked into the inner sweat band of the hat, to support the shape of the hat facing while it’s under pressure from the hat press. This will prevent any bending or deformation. As you see in the video, you may also want to hold the hat taut by pulling down on the back during the pressing cycle.

Problem #2: Scorch marks

Solution: We use Color Theory Multiverse heat transfer vinyl which applies at low temps (248° F) for application in 3-5 seconds! This avoids any scorching from the high temperatures necessary for applying traditional HTV. As you can see in the video as well, we cut the liner to be wider than the cut graphic so that the upper heating platen of the heat press is not directly touching the hat facing and causing uneven discoloration during pressing.

Watch the video for a complete walk-through on how we decorated a structured hat with our Transforsa Hat Press, which comes with 8 free hats to get started!

https://vimeo.com/390853305

Doing the Math for Expanding into Custom Cap and Dye-Sub Printed Mug Production

There are an array of products one can start making immediately with an enterprising mindset and the basic equipment for this business: a decent vinyl cutter and heat press.

Vinyl graphics and letters for signs and indoor walls, decals for shirts, etc. Not surprisingly, the stuff that’s easiest to do, with the lowest up-front investment in equipment, also presents the greatest barriers to successfully differentiating yourself in a crowded marketplace.

So what’s true for any business, is true for this one. To have success, one has to diversify one’s product offerings, and ideally specialize in a niche with plenty of room to grow. Two products you may not have considered to expand into yet are customized ballcaps and dye-sublimation printed mugs.

We’d like to present the business case here for expanding into both processes. Both processes require an investment in specialized equipment, but the following math will demonstrate you can break even on cap production with sales of only 40 caps, and you can buy all the equipment for dye-sublimation printing (with applications ranging from printed mugs, to photo panels, to shirts, and more) with sales of only about 180 mugs!

CUSTOM CAPS:

Decorate hats with the HTV of your choice, Chemica DuoFlex (pictured) or Siser EasyWeed.

What you need…

A vinyl cutter, a Transforsa Digital Cap Heat Press, 15″ x 5yd Roll of Siser EasyWeed.

Specialized Cap Heat Press + Free Hats for only $264.99!

Assuming you cut a design 4 in wide x 2.5 in high, you can produce 180 heat transfer vinyl decals from a 5 yard roll of EasyWeed ($35.65). This works out to be about 20 cents/hat in vinyl.

The cost of blank hats is going to be your main expense. The cost of hat blanks and vinyl to produce 180 hats is $575.20. 1 hat costs about $3.20 to make. Let’s say you can sell that hat for $12.

Profit/hat = $8.80. The cost of your equipment ($264.99) + the necessary hats (36 more) = $372.90. Divide that by your profit/hat ($8.80), and you’ve almost completely paid for your equipment with sales of about 40 hats!

DYE-SUB PRINTED MUGS:

Put family photos or any image on a mug with vibrant dye-sublimation inks.

What you need…

A Sawgrass Dye-Sublimation Printer, a mug press or 5-in-1 multi-press, sublimation transfer paper, dye-sublimation inks, and cases of mugs.

The cost of the equipment in this bundle (SG400 printer + 5-in-1 heat press + mug paper) is only $799. It only costs about 10 cents in ink to print 1 5″x7″ mug design. The cost to decorate a case of 36 mugs would be $3.60 in ink, $3.24 in paper, and $56.99 for the cost of the mugs.

All the equipment and supplies you need to get started sublimating mugs for only $799.

Total cost of supplies to decorate 36 mugs = $63.83 –> $1.77/mug. If you sell the mugs at $8/ea, that works out to be $6.23 profit/mug.

At that clip, paying for all the equipment and supplies (printer, heat press, ink, paper, and mugs) you needed to make 180 mugs would cost you about $1118. Divide this by our profit/mug, and with sales of about 180 mugs, you’ve just paid for all your equipment and supplies, and each additional mug sold is almost pure profit! And a dye-sub printer comes in handy for so much more, from shirts, to jerseys, to Wunderboard metal photo panels, to clear vinyl, and beyond!