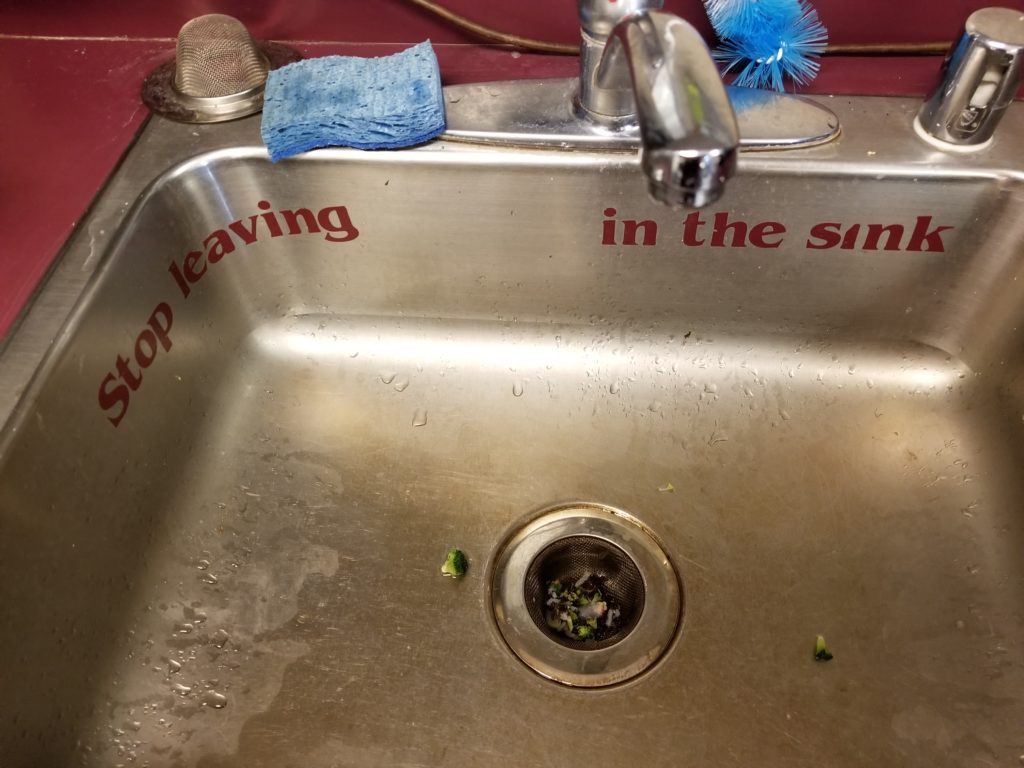
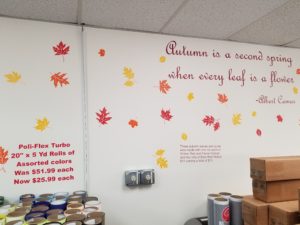
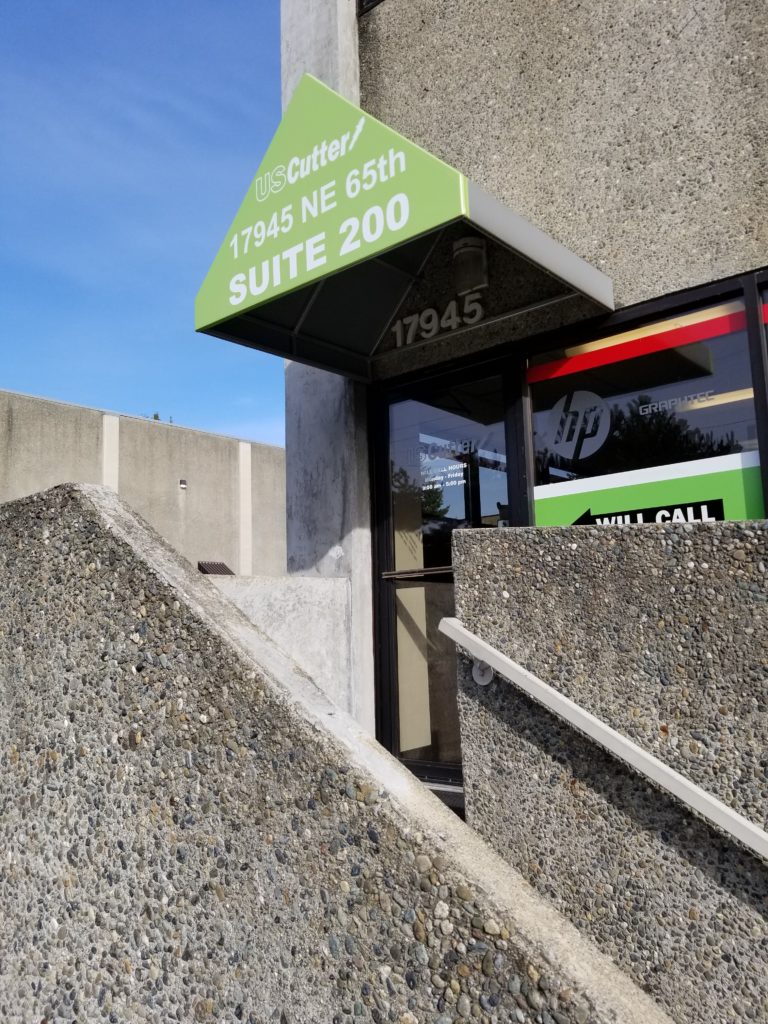
Join us for a virtual vinyl tour of the USCutter.com headquarters facility in Redmond, Washington, and see how you could outfit your building with some visual vinyl signage!
At USCutter, we are first and foremost a vinyl company. And walking around our hallways, shared spaces, and warehouses, it shows!
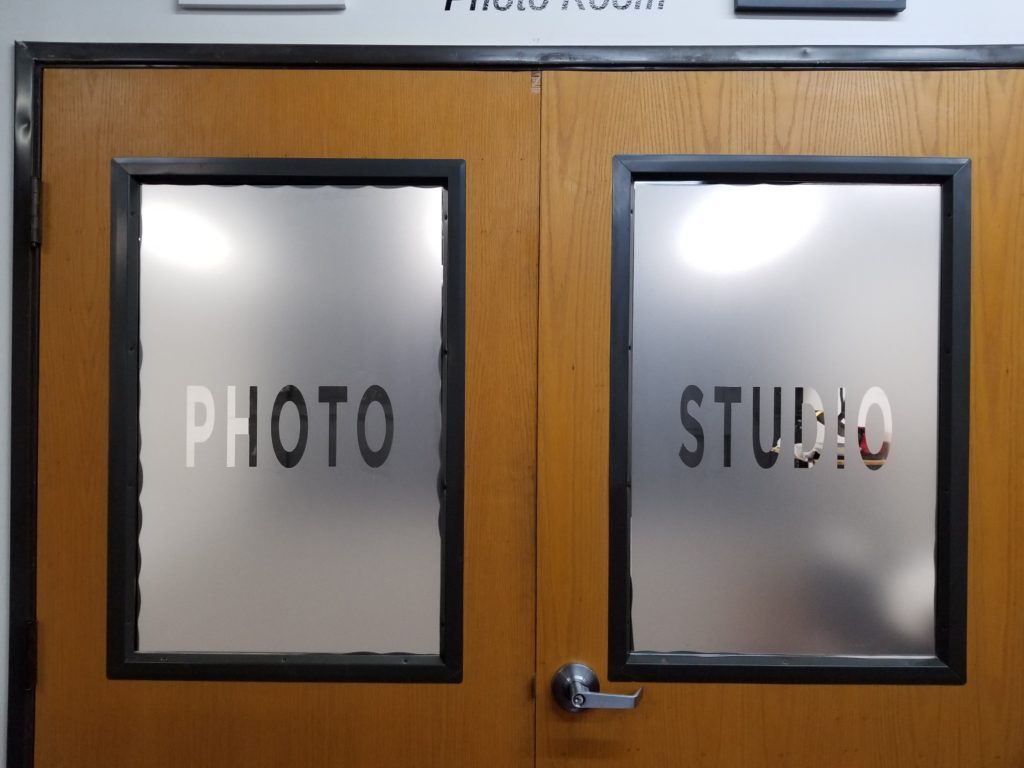
As you’ll see, any facility would benefit from some highly visual and intentional vinyl graphics. So let us show you some examples of how any business can make some helpful internal signage, and describe the equipment, materials, and workflow that goes into installing them!
First, you’ll need a vinyl cutter if you don’t have one already (learn more here).
LaserPoint 3 Vinyl Cutter and Material Bundles on Sale Right Now!
It’s much easier to cut larger graphics, such as privacy film for a window, or a big banner, in one pass with your vinyl cutter, rather than transferring it in pieces to the mounting surface later. The LaserPoint 3 is ideal for large cut jobs because it has excellent tracking, internal memory to save big cut jobs, and a free included media catch basket to preserve your cut job while it’s cutting unattended!
The Right Vinyl for the Job:
Oracal 651 is a great all-purpose vinyl for both outdoor signage and banners, as well as interior windows and other surfaces (just not recommended for painted walls – see Oracal 631 for that).
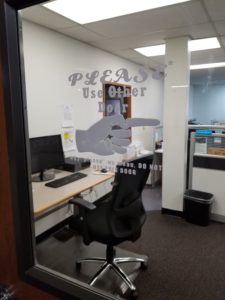
We also carry a wide range of Oracal etched/frosted/dusted glass privacy films that can accomplish many goals in an office environment. They provide a very subtle visual shield for conference rooms that still freely permits light to enter, and they can be cut to include appealing visual borders, accents, and graphics. You could also use them for some winter-time décor on windows and glass drinkware!
Transfer Tape:
Selecting the right tape for your job can be a real sticking point for our customers. In a nutshell, the adhesive tack (strength) of your tape must be strong enough to lift the finish of your vinyl, but not too strong that it doesn’t release the vinyl onto the mounting surface.
Windows are a very smooth surface and are not always the most forgiving for alignment. For large window graphics that require precise alignment, wet application is recommended. A porous paper tape like GreenStar Classic is great because it allows you to reposition the graphic on a slippery surface, and then squeegee out the moisture so the adhesive can set.
GreenStar Clear is a good option for laying down multi-color layered graphics because it has clear facestock to aid with aligning your layers.
TransferRite 1320 has an aggressive tack for picking up frosted/etched/dusted and textured vinyl finishes.
Installation Tools:
The right squeegee, and more importantly the right squeegee technique, makes a big difference on how well your vinyl graphic gets mounted. Squeegee from the center out to put down your graphic, and pull back the tape at a 45 degree angle for the cleanest release and not pull back up your small vinyl details.
The right weeding tool, tape roller, or squeegee, can be a matter of trial and error to find what works for you. Come back to USCutter.com for the latest and greatest Yellotool, or workflow aid, to optimize your speed and efficiency as you gain experience installing vinyl graphics in your facility!
