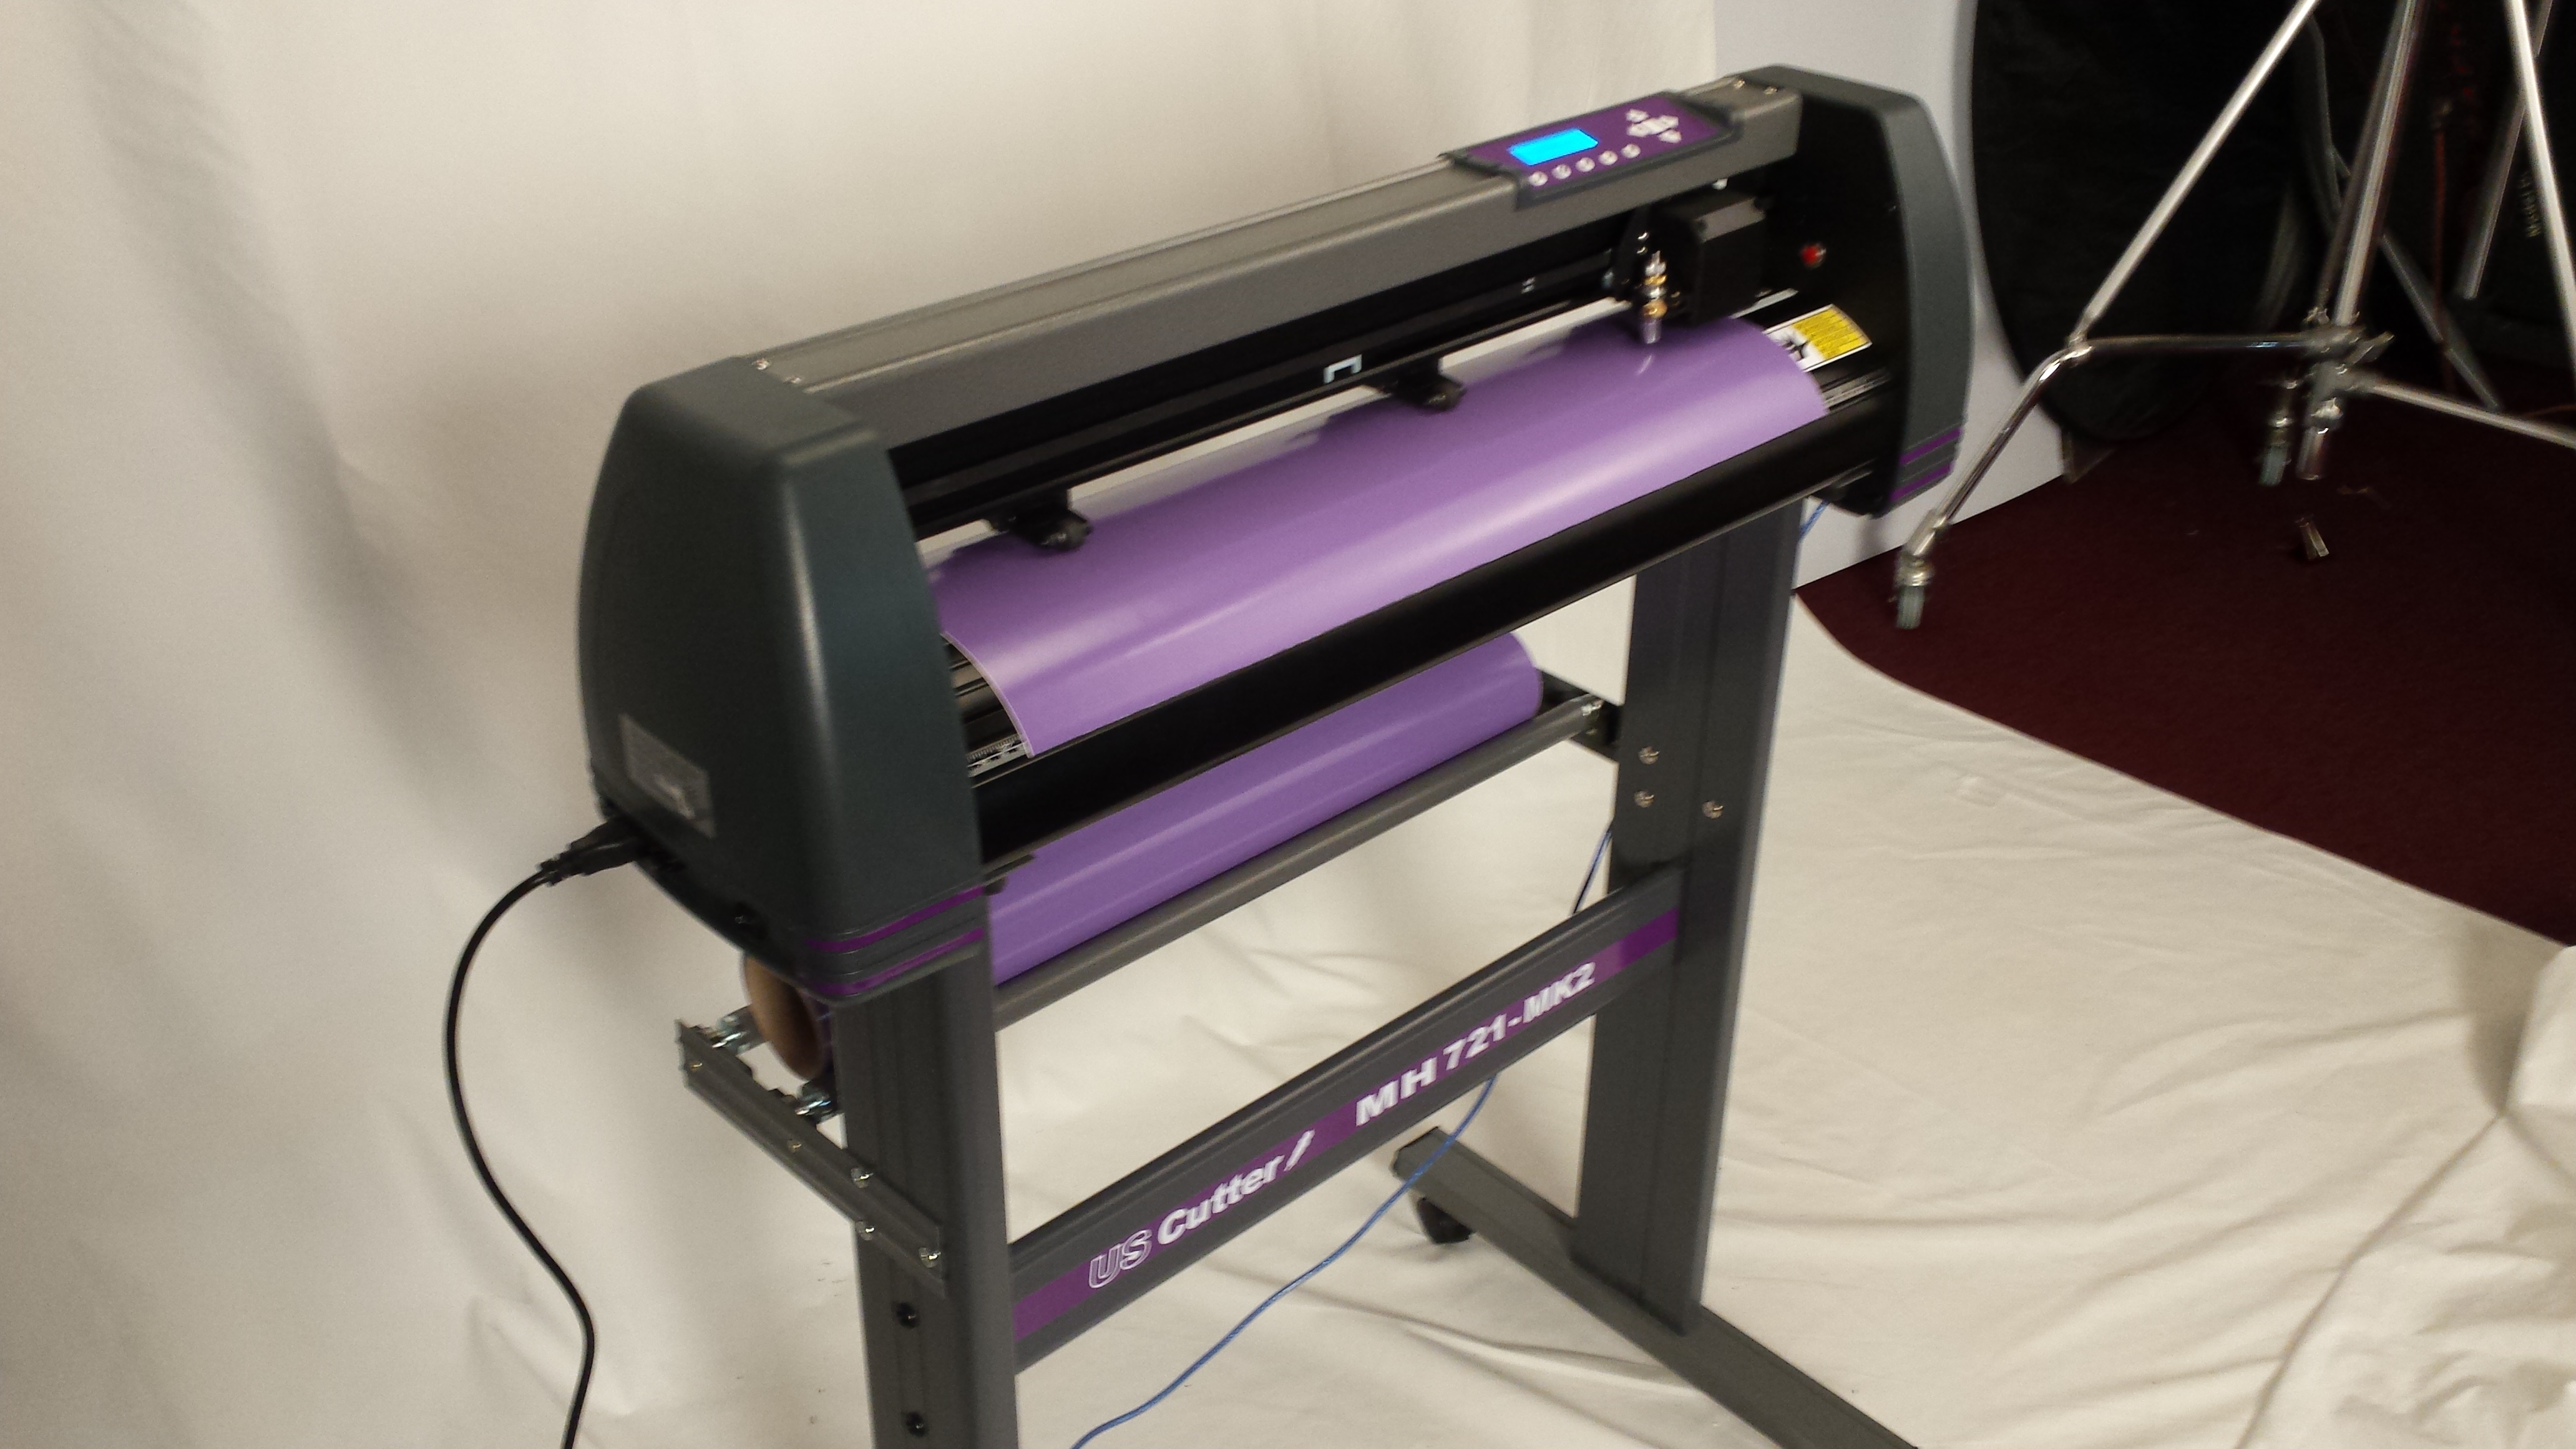
Cut any design in the world on your MH vinyl cutter.
There’s a new mobile app available for iPhone and iPad users that can capture any image out in the world and convert it into a vector drawing with the touch of your screen.
For graphic designers this makes any design instantly scalable, but for our users it also makes any image available to your mobile device QUICKLY CUTTABLE.
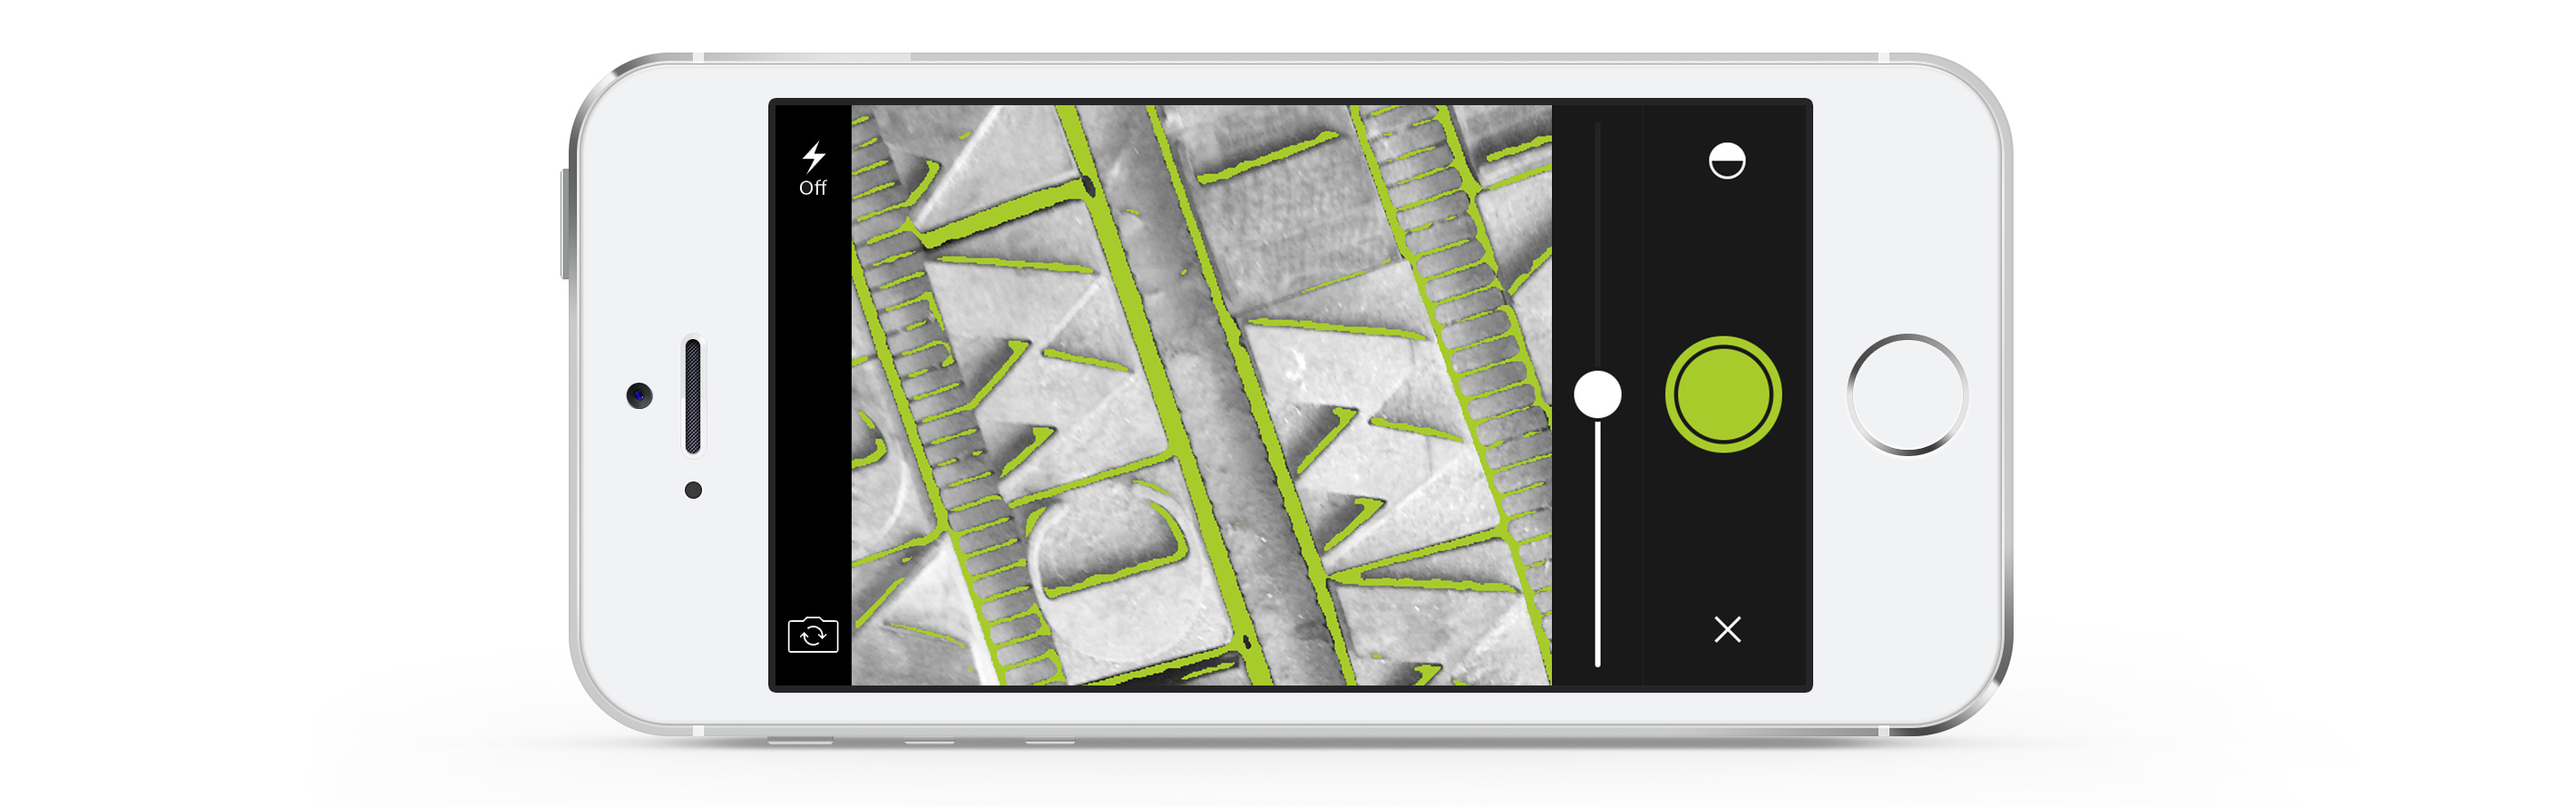
You can download the app for freehere. Simply point your device at any object (a sunset, a drawing, a screenshot, logo, or best friend) and the app draws in vector lines in real time. Hit the button and your design is raptured up into the Adobe Creative Cloud where you can access it with any Adobe suite software, from Photoshop, to Illustrator, to InDesign, and Draw.
Preview vector lines in real time then click and save for a ready-to-cut image.
You can edit your vector lines in the Adobe software, or quickly and easily export as a .svg into your Sure Cuts A Lot or other cutting software, and simple as that, you’re ready to cut.
With a colleague’s iPhone, a brand new MH Cutter fresh from the box, Adobe Illustrator, and provided Sure Cuts A Lot software, I was able to capture a moderately detailed drawing from my computer screen with the Adobe Shape CC app on the iPhone…
A simple demo of this app’s powers.
It drew in the vector lines instantaneously and saved my image to the cloud. I pulled it into Illustrator and saved it as an .svg. I imported it into Sure Cuts A Lot, and was immediately cutting.
GreenStar outdoor vinyl ready to mask and apply.
For experienced designers who are comfortable in the Adobe platform to new users who want to cut right out of the box without learning cutting software to anyone looking for a powerful tool that converts photos from raster to vector in real time, the process of capturing real world images for decorative vinyl applications has never been easier!
In last week’s episode, we discussed the proper angle blade to set in your vinyl cutter to match your desired material profile. In this installment we will explore the various application (or transfer) tapes that will marry your cut and weeded vinyl graphic to the mounting substrate or surface.
Application tape is a medium that protects and preserves the integrity of your cut and weeded graphic as it is transferred from the vinyl’s release liner to the desired substrate. It is basically a sticky film or paper tape (think masking tape) that comes in different tacks (levels of stickiness).
Certain tapes go better with certain vinyl finishes or different texture substrates. For our first illustration, let’s assume you’re a small sign shoppe and you have a customer who wants to post a sign on an exterior wall. He wants it to read: “Wildlings Keep Out!”
Use Oracal cast (751,951) or calendered (651) vinyl on outdoor surfaces, depending on the level of longevity and durability you require.
He’d like it to stand up to harsh conditions (in this case, wind and severe cold) for a while, and apply to a rough irregular surface. So you pick an Oracal 751 cast vinyl for the lettering. You cut and weed the graphic. Now you know this will have to be applied at an external location so you need to select a transfer tape (also called a pre-mask) to cover and protect the graphic for transport, and to facilitate the transfer at the location. These pre-masked graphics are called Ready-to-Apply (RTA) and require your tape have a certain feature: Lay Flat capability.
For this sign, you choose a pretty aggressive high-tack tape with Lay Flat capability, TransferRite 592U. The tape’s strong Lay Flat adhesive allows it to adhere to the exposed liner of the weeded graphic so that it can be stacked and stored and transported without curling up at the edges. It will also pull the vinyl off the liner no problem when it is ready to be used (the adhesive of the tape is lower tack than the vinyl adhesive so it will release the vinyl when it has been pressed against the substrate and won’t take it back up as the tape is being removed).
Now when your customer arrives at the site where he will be adhering his sign, a mission of stealth and secrecy, all he has to do is peel the liner off the vinyl, press the graphic against the wall, and squeegee from the center of the graphic to the edges. This activates the strong pressure-sensitive adhesive of the vinyl, securing it to the substrate, so he can now peel off the pre-mask at a 90 degree angle, and make his get-away, leaving the sign for all to see.
(NOTE: Application tapes have to be set onto a graphic using a squeegee to activate their pressure-sensitive adhesive, but check out this video on how to apply pre-mask to a vinyl graphic using an application roller. Works as another set of hands!)
In our second scenario, we have a shoppekeeper with a store full of fur parkas and snowboots. They’d like a graphic on the painted wall behind the cash register that says, “Stock Up Now Because Winter is Coming.” The vinyl to be used for this lettering will be Oracal 631, a matte finish calendered vinyl, that won’t glare too much under indoor lighting. To transfer this design off the backing, you want to use a milder high tack tape (OraTape HT55) or even medium tack tape (TransferRite 582U). The trick is it has to be strong enough to lift the matte finish vinyl (which is not easy) but not so strong that it tears the paint off the wall when you remove the tape.
The tapes thus far mentioned have all been fairly opaque paper tapes. Some users, esp. crafters, prefer clear tapes such as GreenStar Layflat Clear (a high-tack tape) for certain applications that require transparency such as putting down layers of different-colored vinyl for multi-color graphics, or for accurate registration of small details. Clear tapes are also a good choice for packaging and transporting RTA graphics so the customer can clearly see what they’re getting. USCutter also recommends clear tapes for window films (R-Tape AT65 or AT75, TransferRite 1320) where wet application is advised. Though paper tapes are usually preferred for wet application because they are porous and excess application fluid can escape, R-Tape AT75 has an embossed structure which allows fluid to be efficiently squeegeed out from beneath the tape and wiped off.
For the transfer of wide format printed digital graphics, USCutter recommends a thicker lower-tack film like TransferRite AirMask. This tape provides rigidity which makes the flimsy digital film easier to install and ensures the vinyl won’t stretch. It also won’t tear in a laminator so you can easily prep a graphic for on-site installation. Low-tack tapes are also advised for digital prints and screen prints where there is a concern that ink might be pulled off the graphic.
As you can see, there are many factors to consider when selecting the right transfer tape, and none of them are really fit, by themselves, to rule the 7 kingdoms. There are many claimants to the throne on the market and the lore surrounding them can be confusing (see USCutter’s product reviews on our application tape product pages as testament). To a large degree it’s a matter of the user’s preference which tape they will choose to marry, and there is a process of trial and error finding the right tape for your specific needs. Hopefully these tips and resources will arm you with resources, should it start to feel like trial by combat. Happy Cutting!
The right tape can ensure a successful wedding of graphic and substrate.
Name’s Cutter. I’m a Blade Holder. It’s my job to hold up a sharp blade to a piece of material and make something useful out of it.
I don’t ask why. I’m just taking orders.
I have a variety of weapons at my disposal depending on what sort of material I’ll be working with that day. First off, I have a skinny deep blade with a 60 degree angle (shaped like a stiletto). I use this angle of blade on my vinyl cutter when I want to cut thicker materials like flock or sandblast mask, or abrasive materials like reflective vinyl and Siser Glitter. The blade doesn’t have a lot of surface area to provide resistance so it glides smoothly through the media. However, this means it wears out pretty quickly. It’s also good for fine detail work. I like to do a good job, and make clean cuts, so I replace this blade at least twice a year.
Then there’s my everyday blade. 45 degrees of sharp hard carbide steel. This is a shallower fatter blade so it wears longer with constant use. I use this on a majority of my cutting jobs, for indoor and outdoor vinyl graphics, and printable media.
A 30 degree blade is very shallow and flat, so it won’t cut too deep, and works well for scoring as well. Recommended for heat transfer vinyl, and sheer ultra-thin materials like window tint, laminate, and paper.
The nice thing about being a Blade Holder is that I’m adjustable and interchangeable. If you like the job I’m doing on a particular material profile (my blade depth is set just right so I’m not cutting through the liner or leaving behind unweedable vinyl) you can just switch me out with a fellow Blade Holder (who specializes in a different material profile eg. different blade depth and cutting angle) whenever you’re switching materials.
Installing and setting a blade on your new vinyl cutter is a crucial step for getting the most from your purchase. Here is a link to complete instructions for this process.
Certain Blade Holders are only compatible with certain machines, so refer to our website product pages when it’s time for you to add an additional or replacement Blade Holder to your operations.
The most common blades we sell are Roland Compatible in the 45 and 60 degree angles. USCutter offers a 6 pack (45 degree) or a mix (45/60 degree) for $14.95! If you have a vinyl cutter from the Graphtec Corporation, there are a number of special configurations for specific cutting jobs, with specialized blade depths and widths, cutting angles, and blade holders. This will be of interest to those in the window tint and other special markets. These products are also available through USCutter.
If your vinyl cuts “dog ear” / push up around the cut lines, you are probably using too much blade. Go to a 60 degree for fine detail cuts and sharp corners. If you are getting incomplete cuts or ragged edges along the cut lines, it’s probably time to change out your blade. Hopefully, it’s not too late.