The list of what you can’t sublimate on is growing smaller every day. This new application shatters preconceptions of what can and can’t be produced on a sublimation printer, and is incredibly low cost.
Produce beautiful economical reproductions of classic works of art and photos for window graphics, glass frames, vehicle windshields and more!
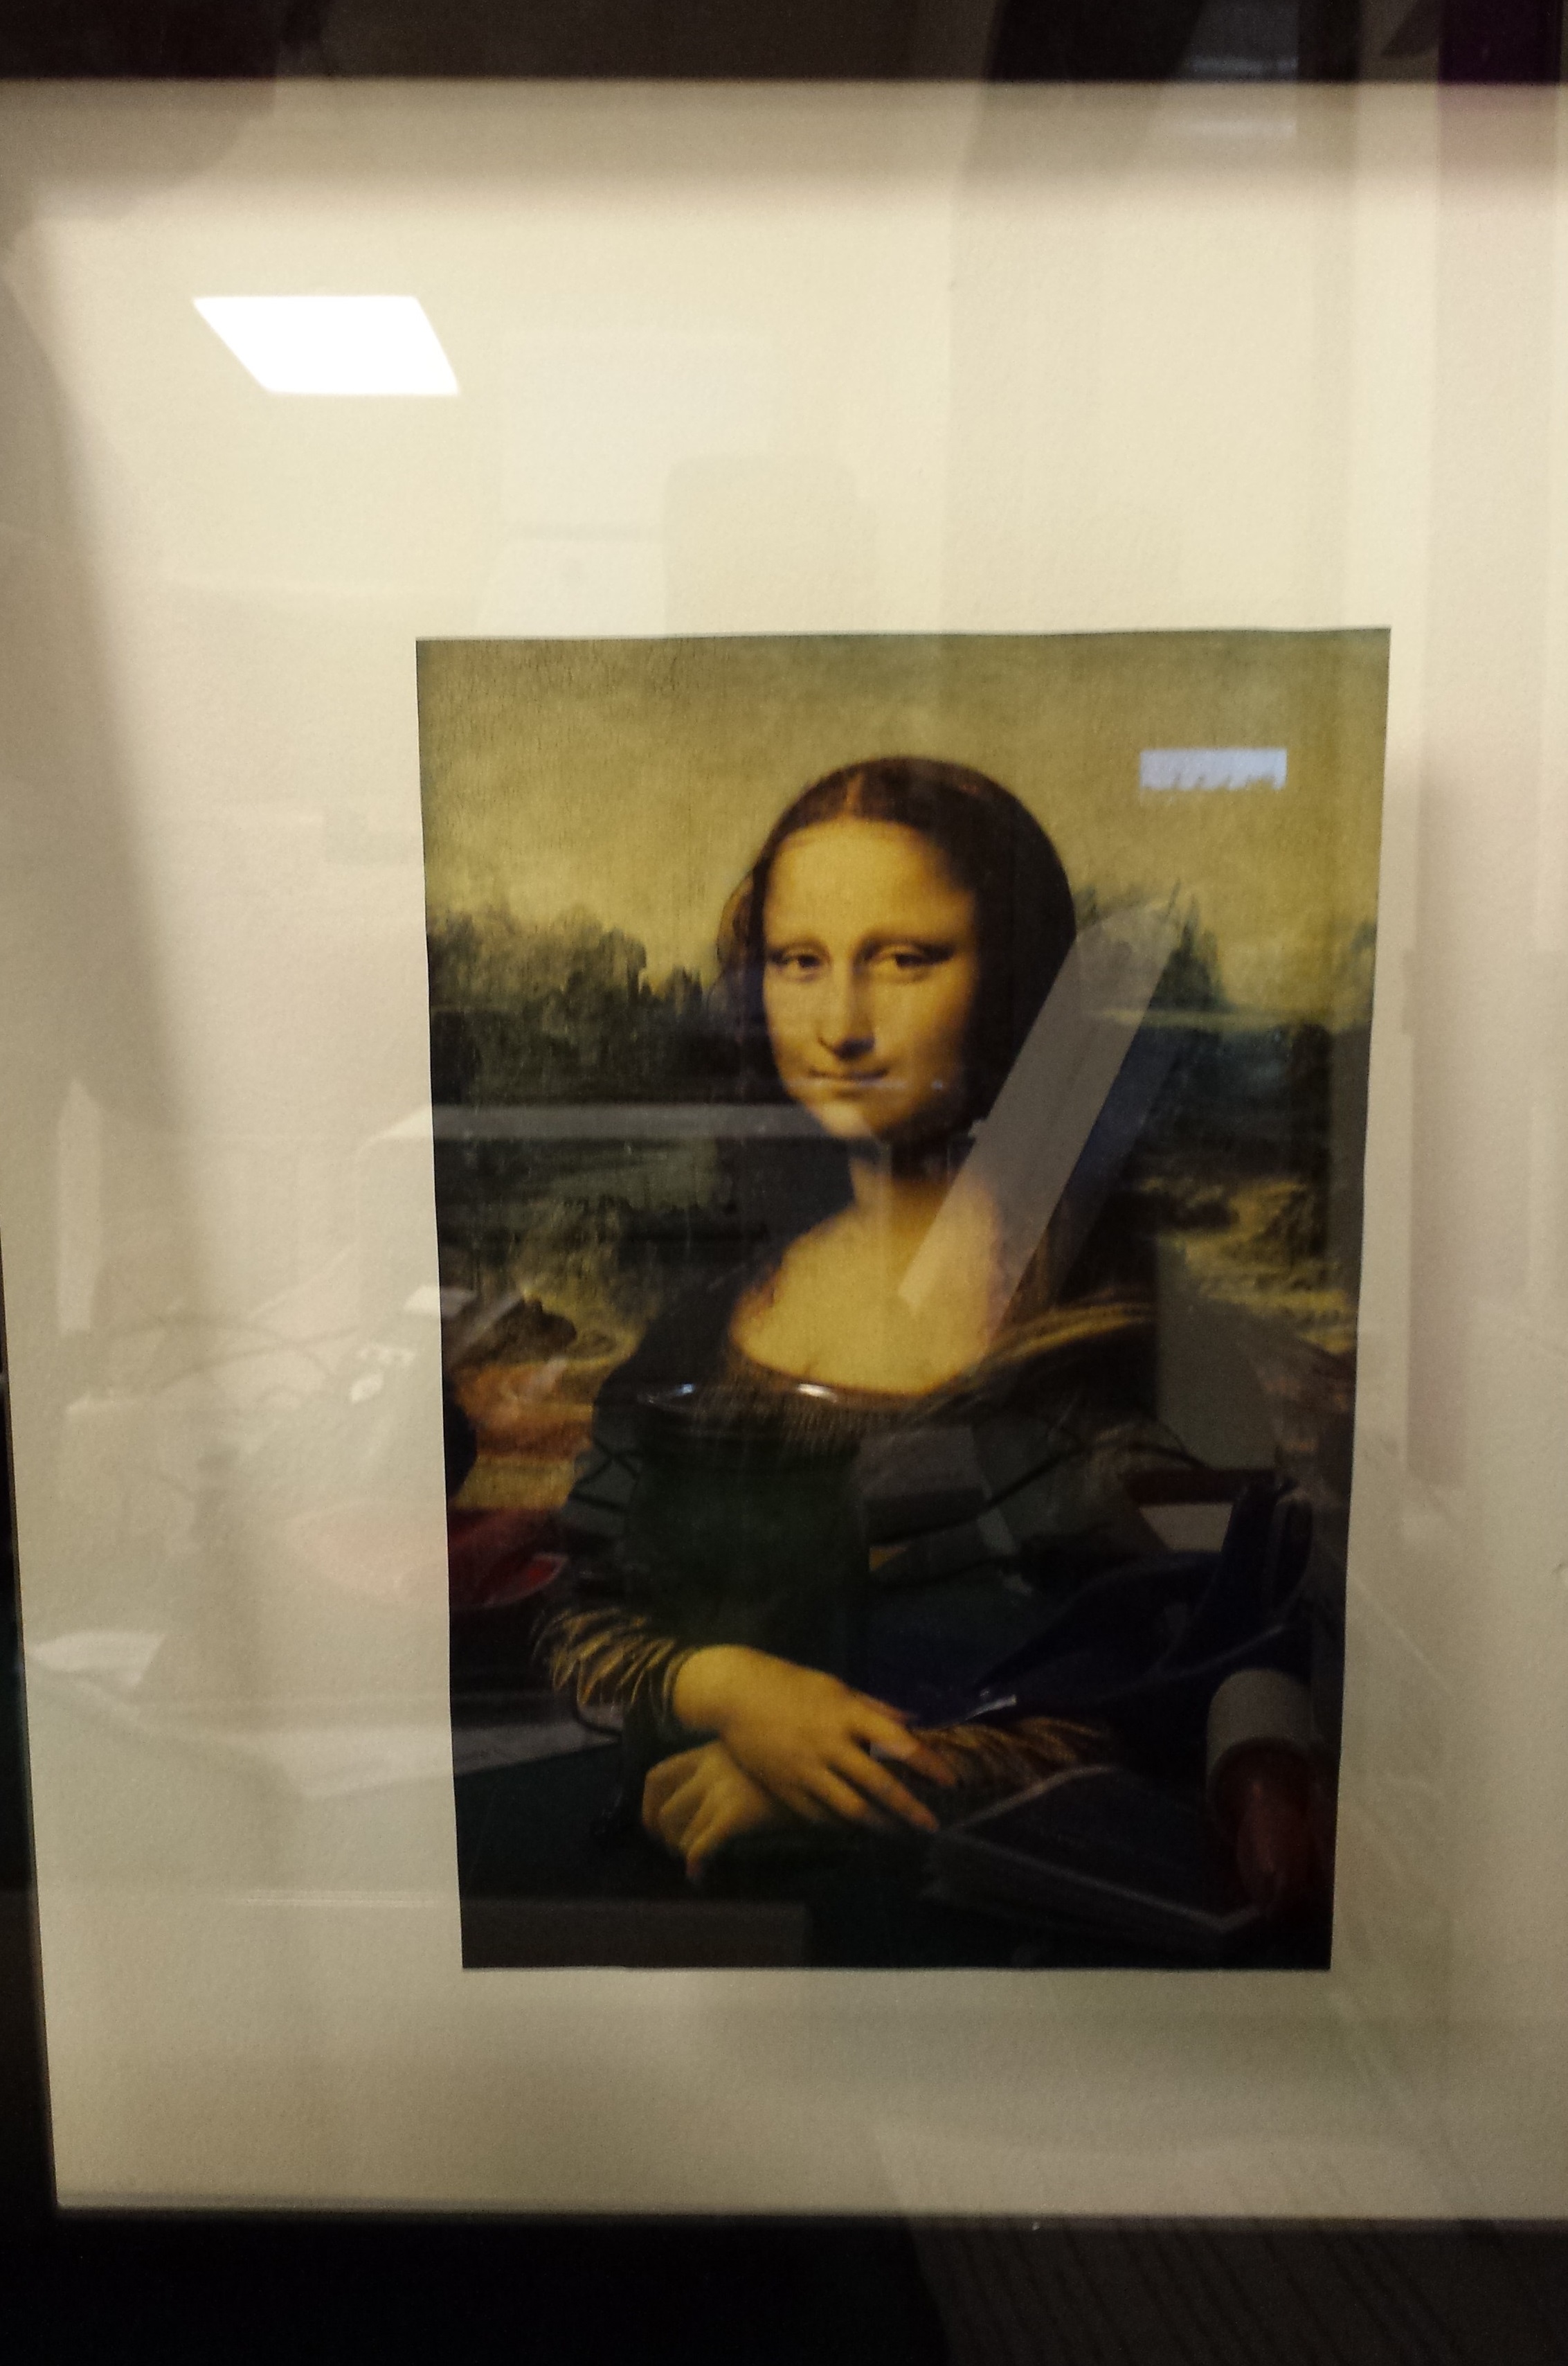

With a few simple materials, and a (cheap-relative to wide format latex or solvent) dye sub printer, and by following a few simple steps, you can easily achieve results like this….
WHAT YOU WILL NEED:
Heat Press [both of these pieces of equipment are available as a new USCutter bundle!]
GreenStar Clear Vinyl ($8.49 for a 12″ x 5yd roll).
Hobby knife. Squeegee.
Any high-quality image that you’d like to reproduce.
STEP 1:
Print any image (why not choose one with fine details and rich colors?) onto sublimation paper with your dye-sub printer. You can print directly from Windows Photo Viewer. Choose the highest quality setting.
STEP 2:
Pre-warm your heat press. Temperature should be set to 350° F; time to 30 seconds; and pressure should be quite firm.
STEP 3:
Cut a piece of clear adhesive vinyl large enough for your image from the roll. Put the piece of clear vinyl you have cut BACKING DOWN onto the lower heat press platen. Then put the sublimation paper face-down on top of the vinyl’s finished surface. Cover with a Teflon sheet (this is CRUCIAL). Press for 30 seconds.
STEP 4:
Remove Teflon sheet following the 30 second heat press cycle. THEN PEEL THE SUBLIMATION PAPER TRANSFER SHEET WARM TO THE TOUCH AS FAST AS YOU CAN. Let it cool a little but not too long or the sublimation paper will stick to the vinyl, and will be very difficult if not impossible to remove. As it is you may need a hobby knife to remove the paper completely.

STEP 5:
NOW HERE IS THE MAGIC PART. The sublimation inks have transferred to the other side of the clear vinyl and bonded to the adhesive side. Notice after peeling the vinyl backing how much more vivid the adhesive side is than the side with the finished surface.
STEP 6:
Now just apply to the back of any transparent substrate! Windows, glass frames, PLEXI Glass, vehicle windshields.
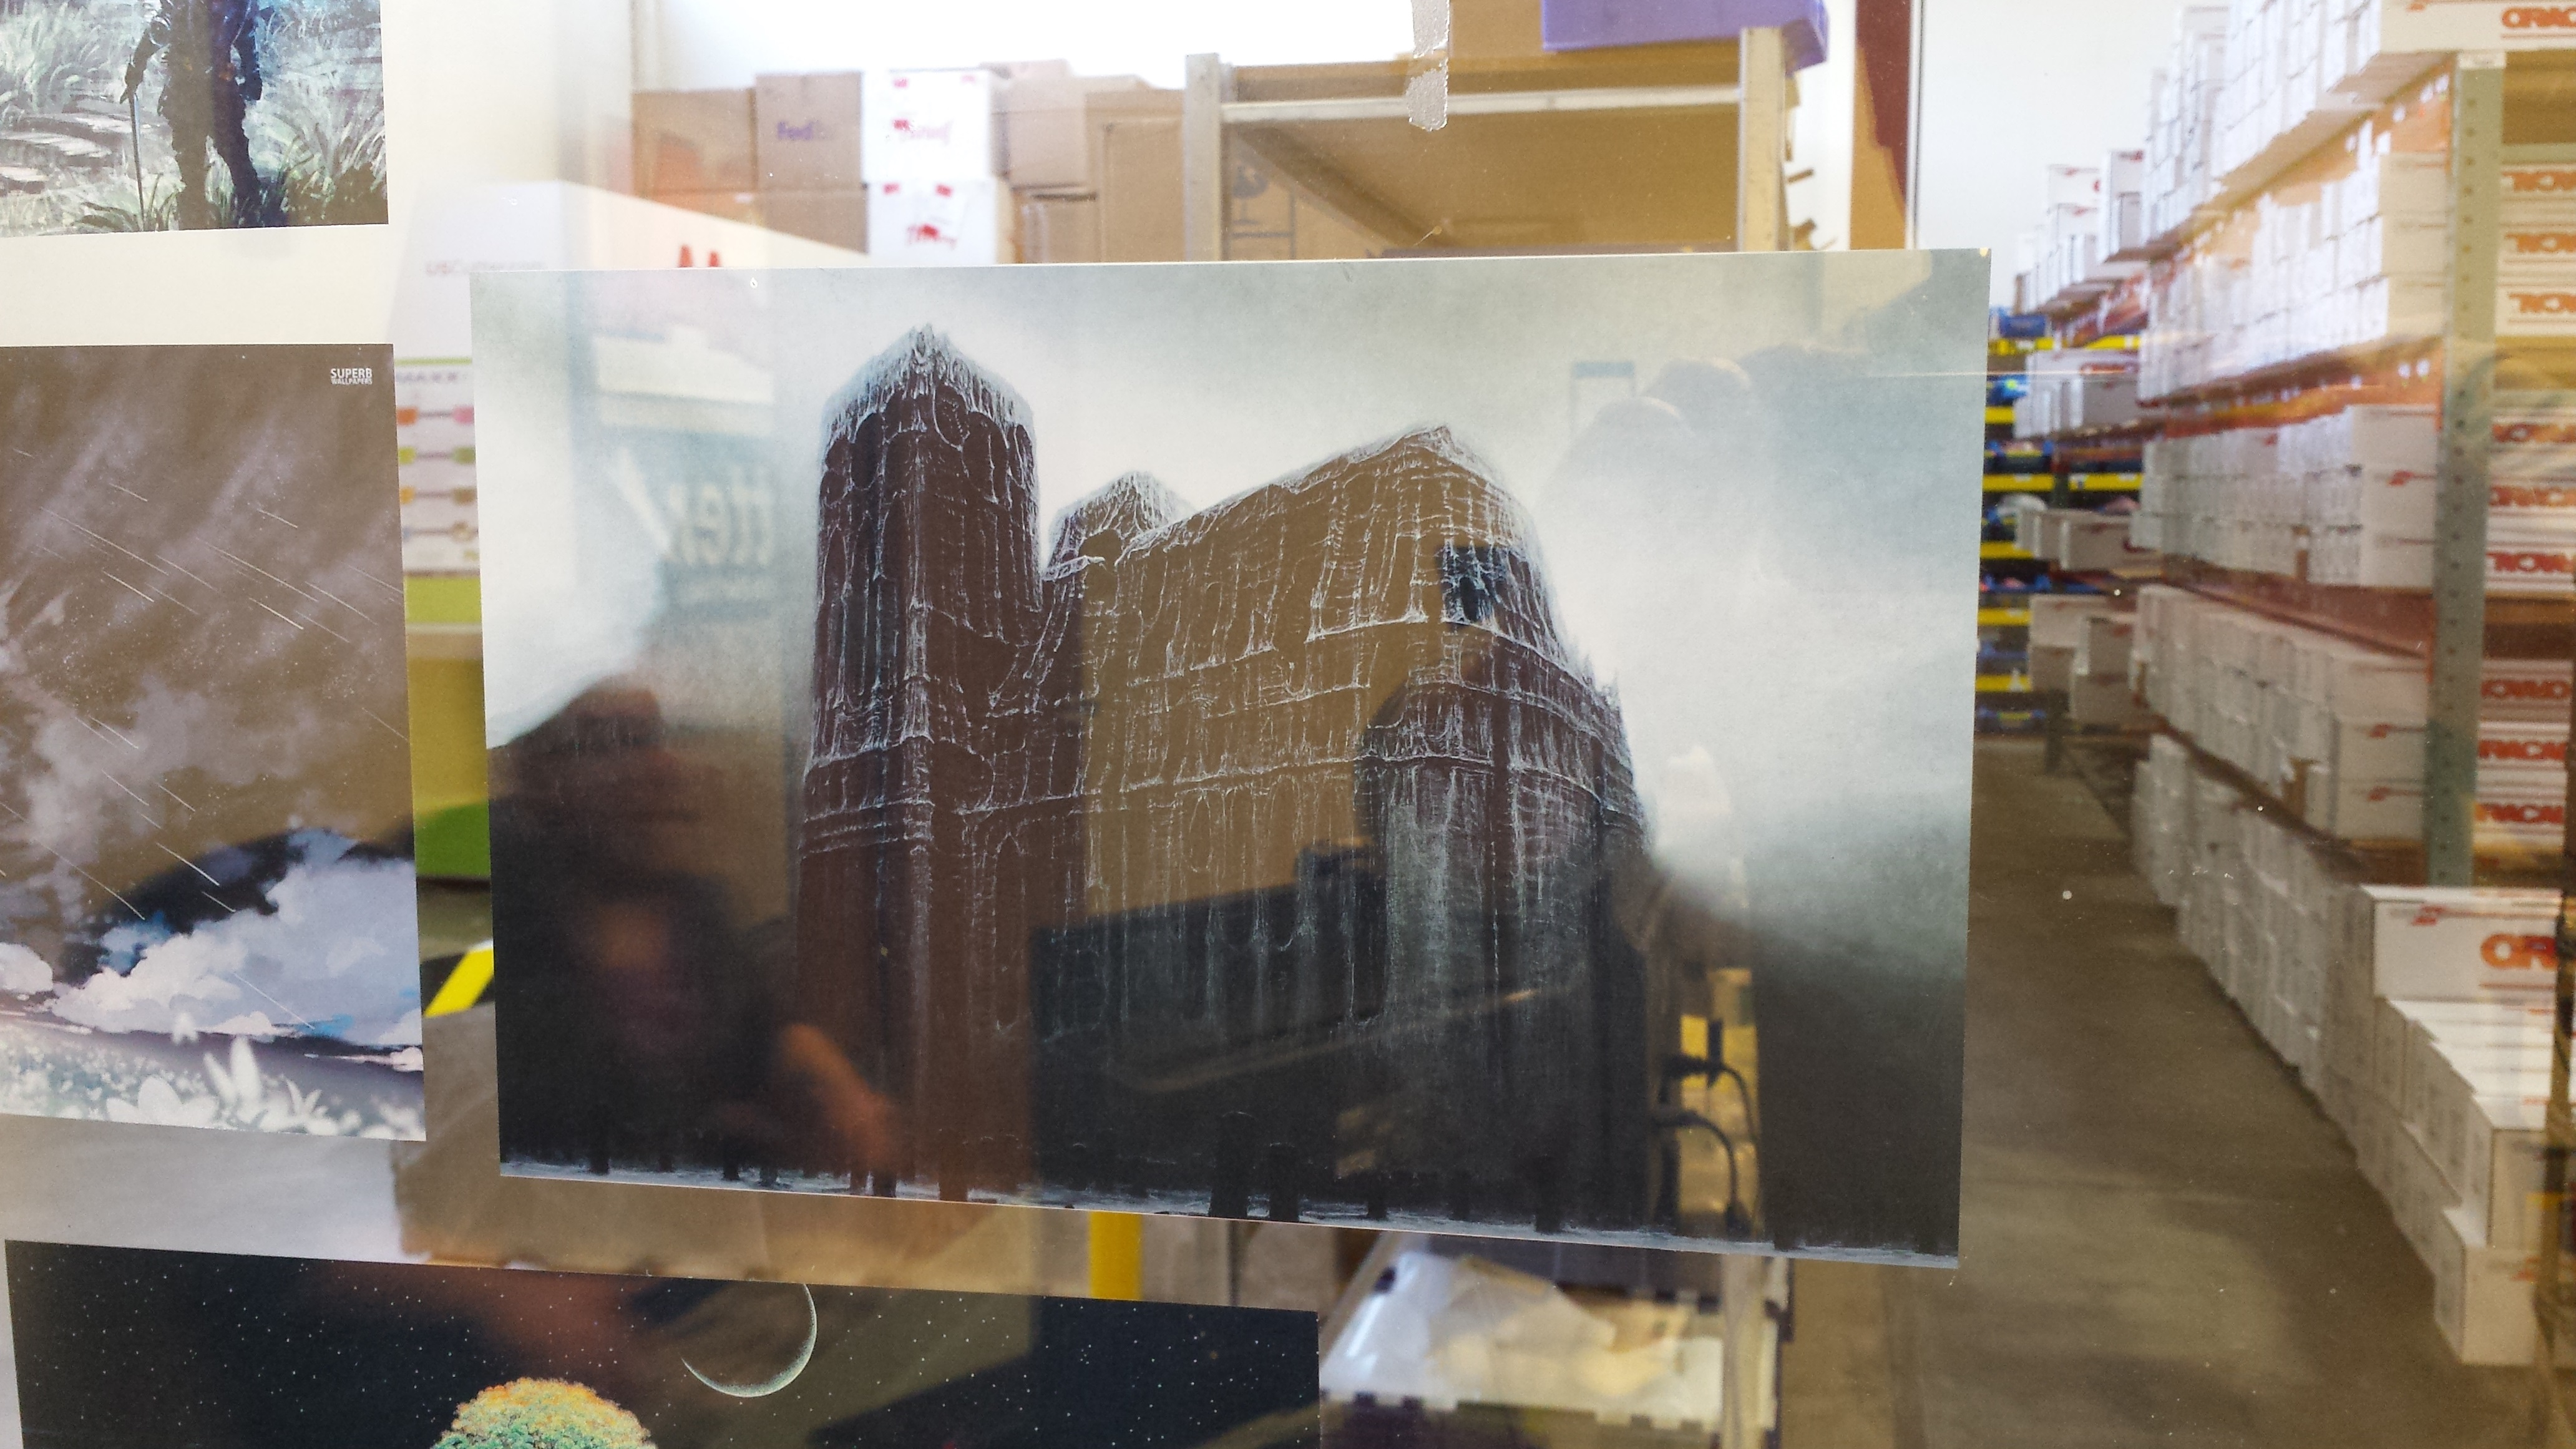

It’s bright, vivid, and cheap.
Try it out. Let us know what creations you come up with and earn a $50 credit towards your next purchase at USCutter.