TO USCUTTER WITH LOVE: Unboxing the Revolutionary New HP 110 Latex Printer

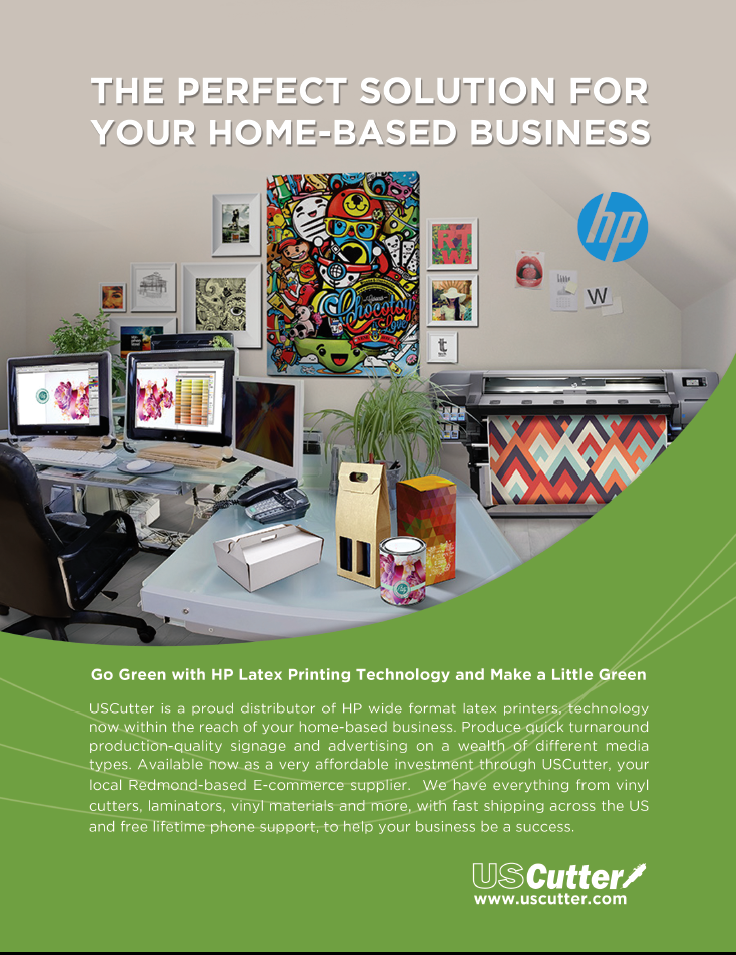
My mission (I wasn’t really given a choice if I could accept or not) was simple. HP had developed in absolute secrecy a new user-installable true wide-format digital latex printer for under $10,000. It seemed like a foolproof plan, to bring wide-format printing on all different media types – for applications ranging from wrapping cars, boats, and brick walls, to putting ads beneath people’s feet in grocery stores, to printing the custom wallpaper of your dreams – firmly within the reach of entry-level print operators and sign shops.

E88A0049
User-installable true wide-format within the reach of any budget.

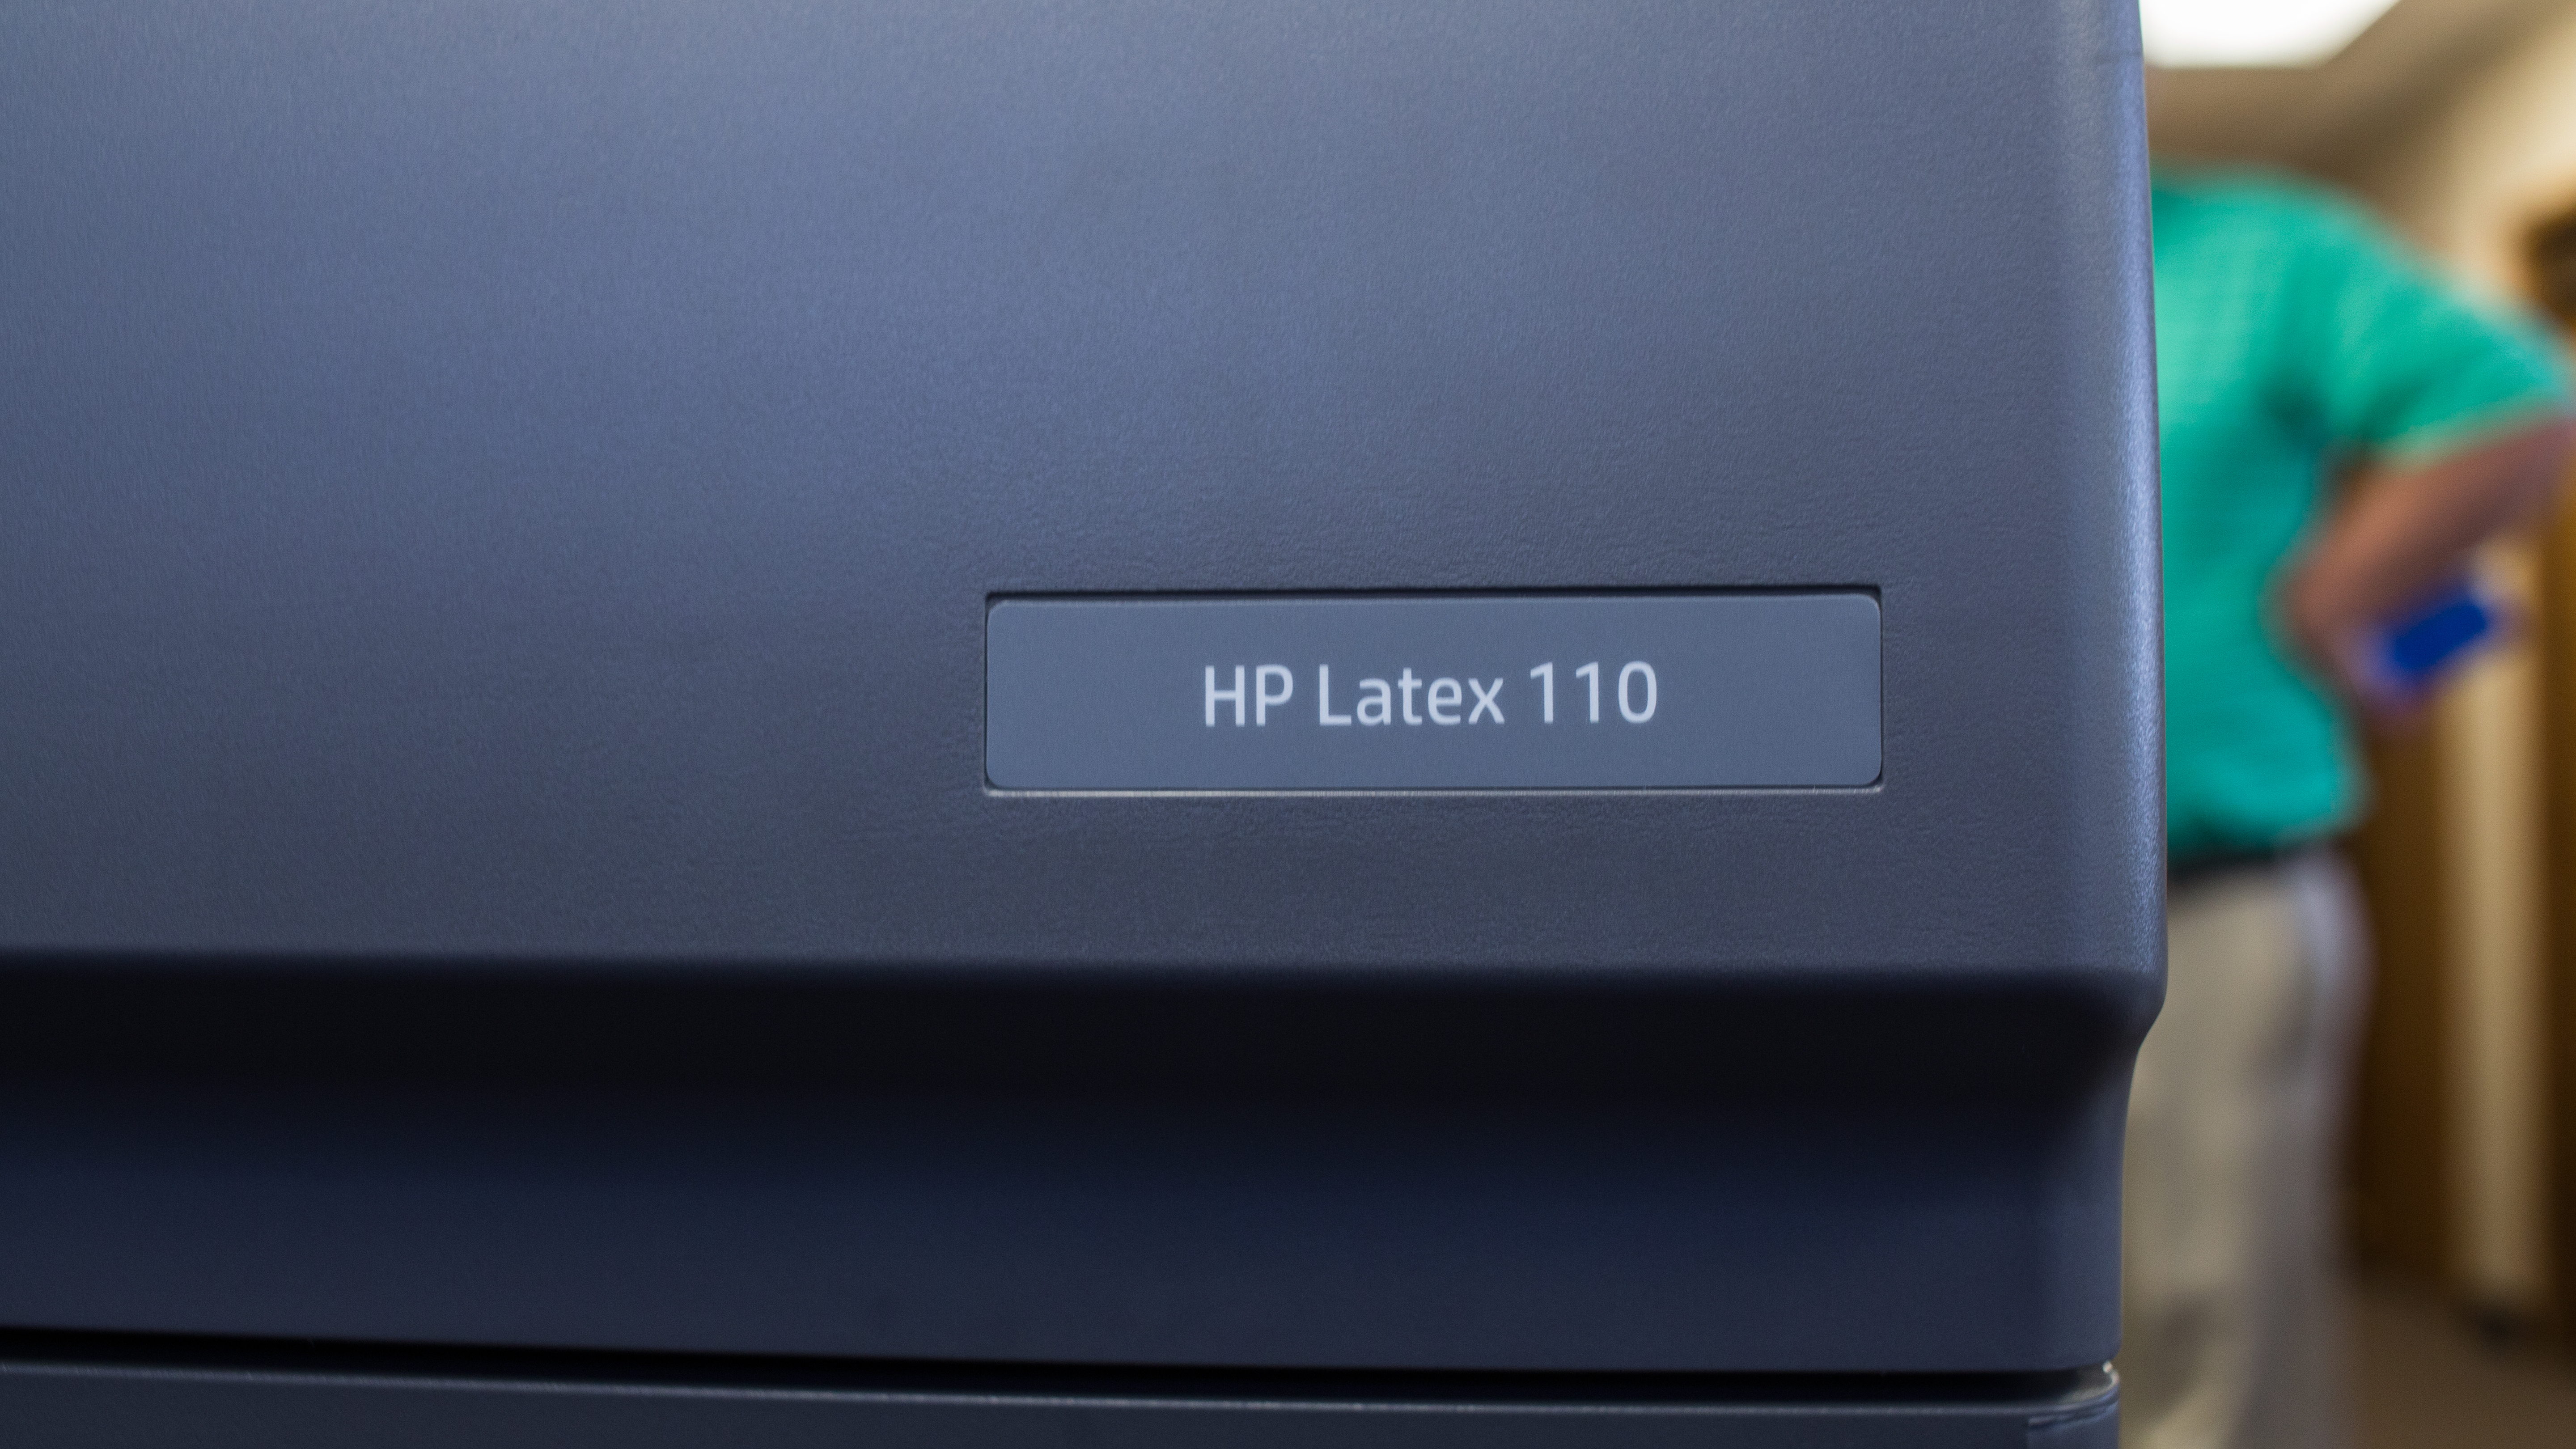
And HP’s premise with the new 110 printer was so bold, so revolutionary: that literally anyone could install this printer right out of the box (with no professional help whatsoever) and be printing within hours. But this claim still needed to be tested. All they needed was a guinea pig, someone who fit their profile of the “clean slate”.

And this is where I enter the story. The crate arrived on a blue summer day.

I knew we were getting in a new product. A new wide-format printer for entry-level users which was shattering the ground floor on pricing for these machines. A claim that a printer like this is “user-installable” is big. First of all it has to be easy enough for someone who’s frame of reference is a desktop printer; and second of all, how much cheaper is it if you can save thousands on the installation fees and associated travel that comes with the requirement that other printers of this ilk be installed by a certified technician?

The crate was big, large enough to hold a jungle cat. Everyone stood around and oohed and awed. My boss helped me take off the top, revealing the neatly packed contents beneath. But soon it was just me, the screwdriver, and the instructions.

E88A9924
Hardest part right here, folks.


The challenge was clear. Could I be the “literally anyone” that they required to complete this task?

E88A0147
User-installable and serviceable low-cost printheads.
E88A9943
No service tech needed – JUST THIS!

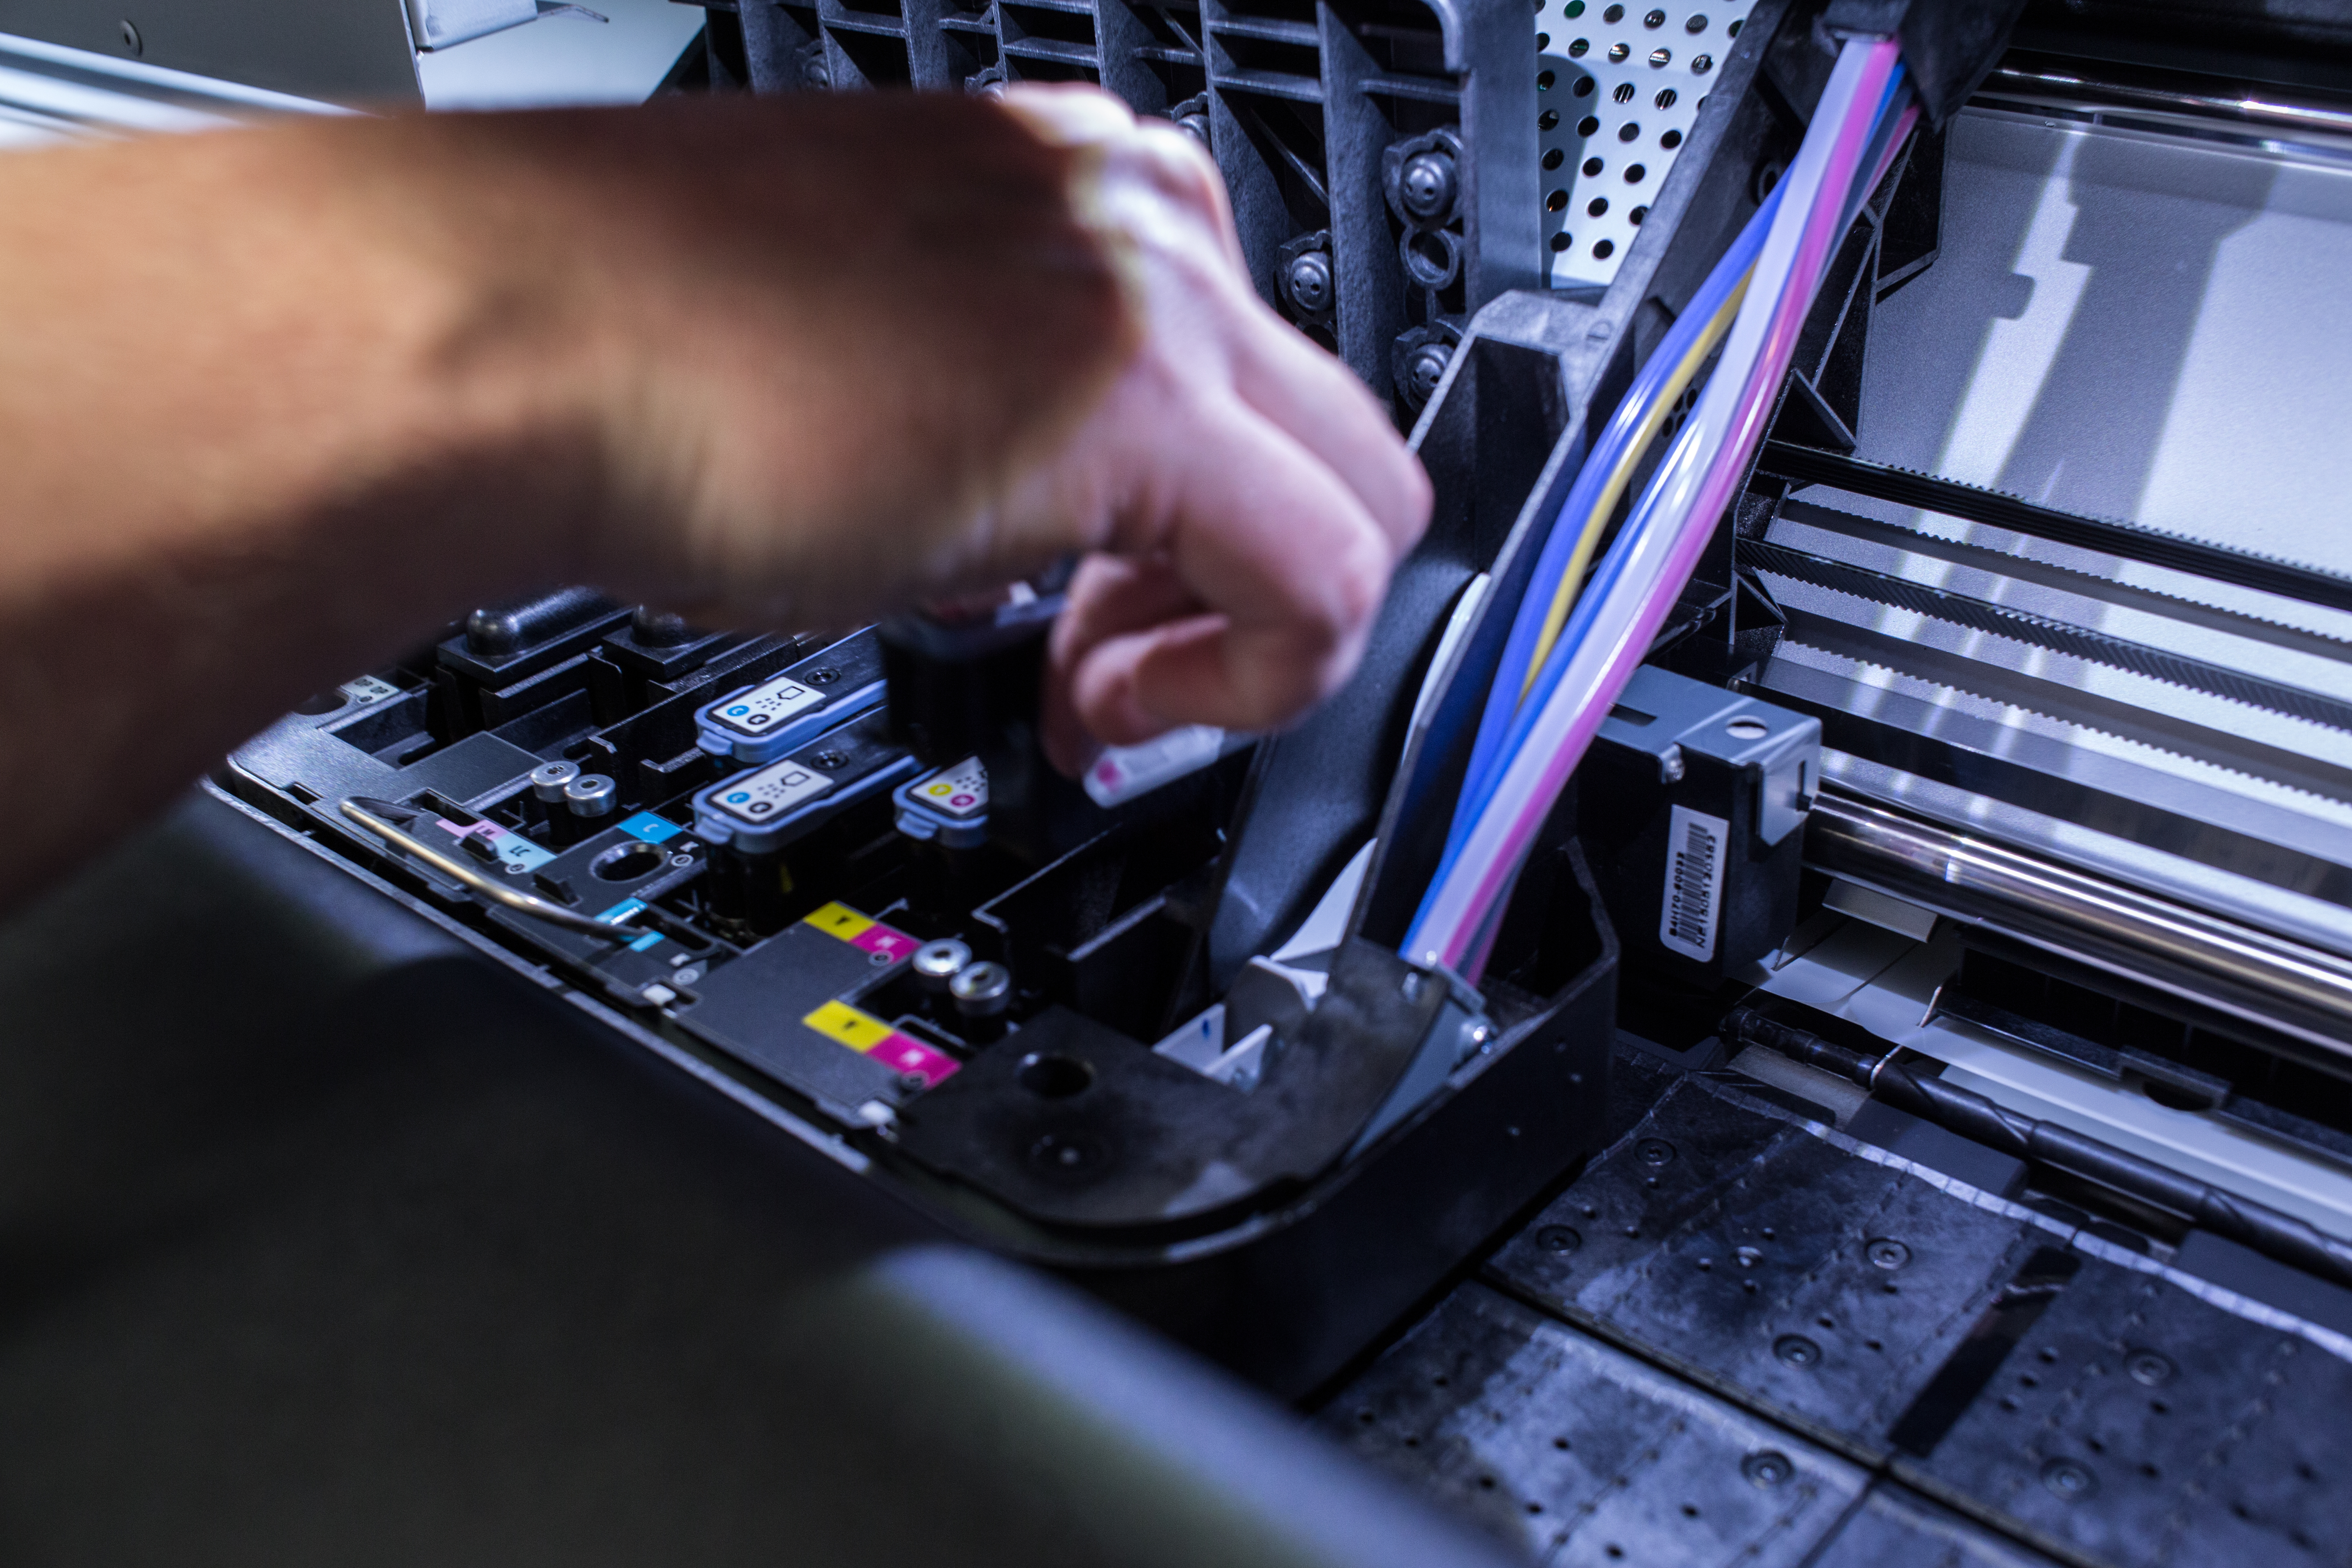
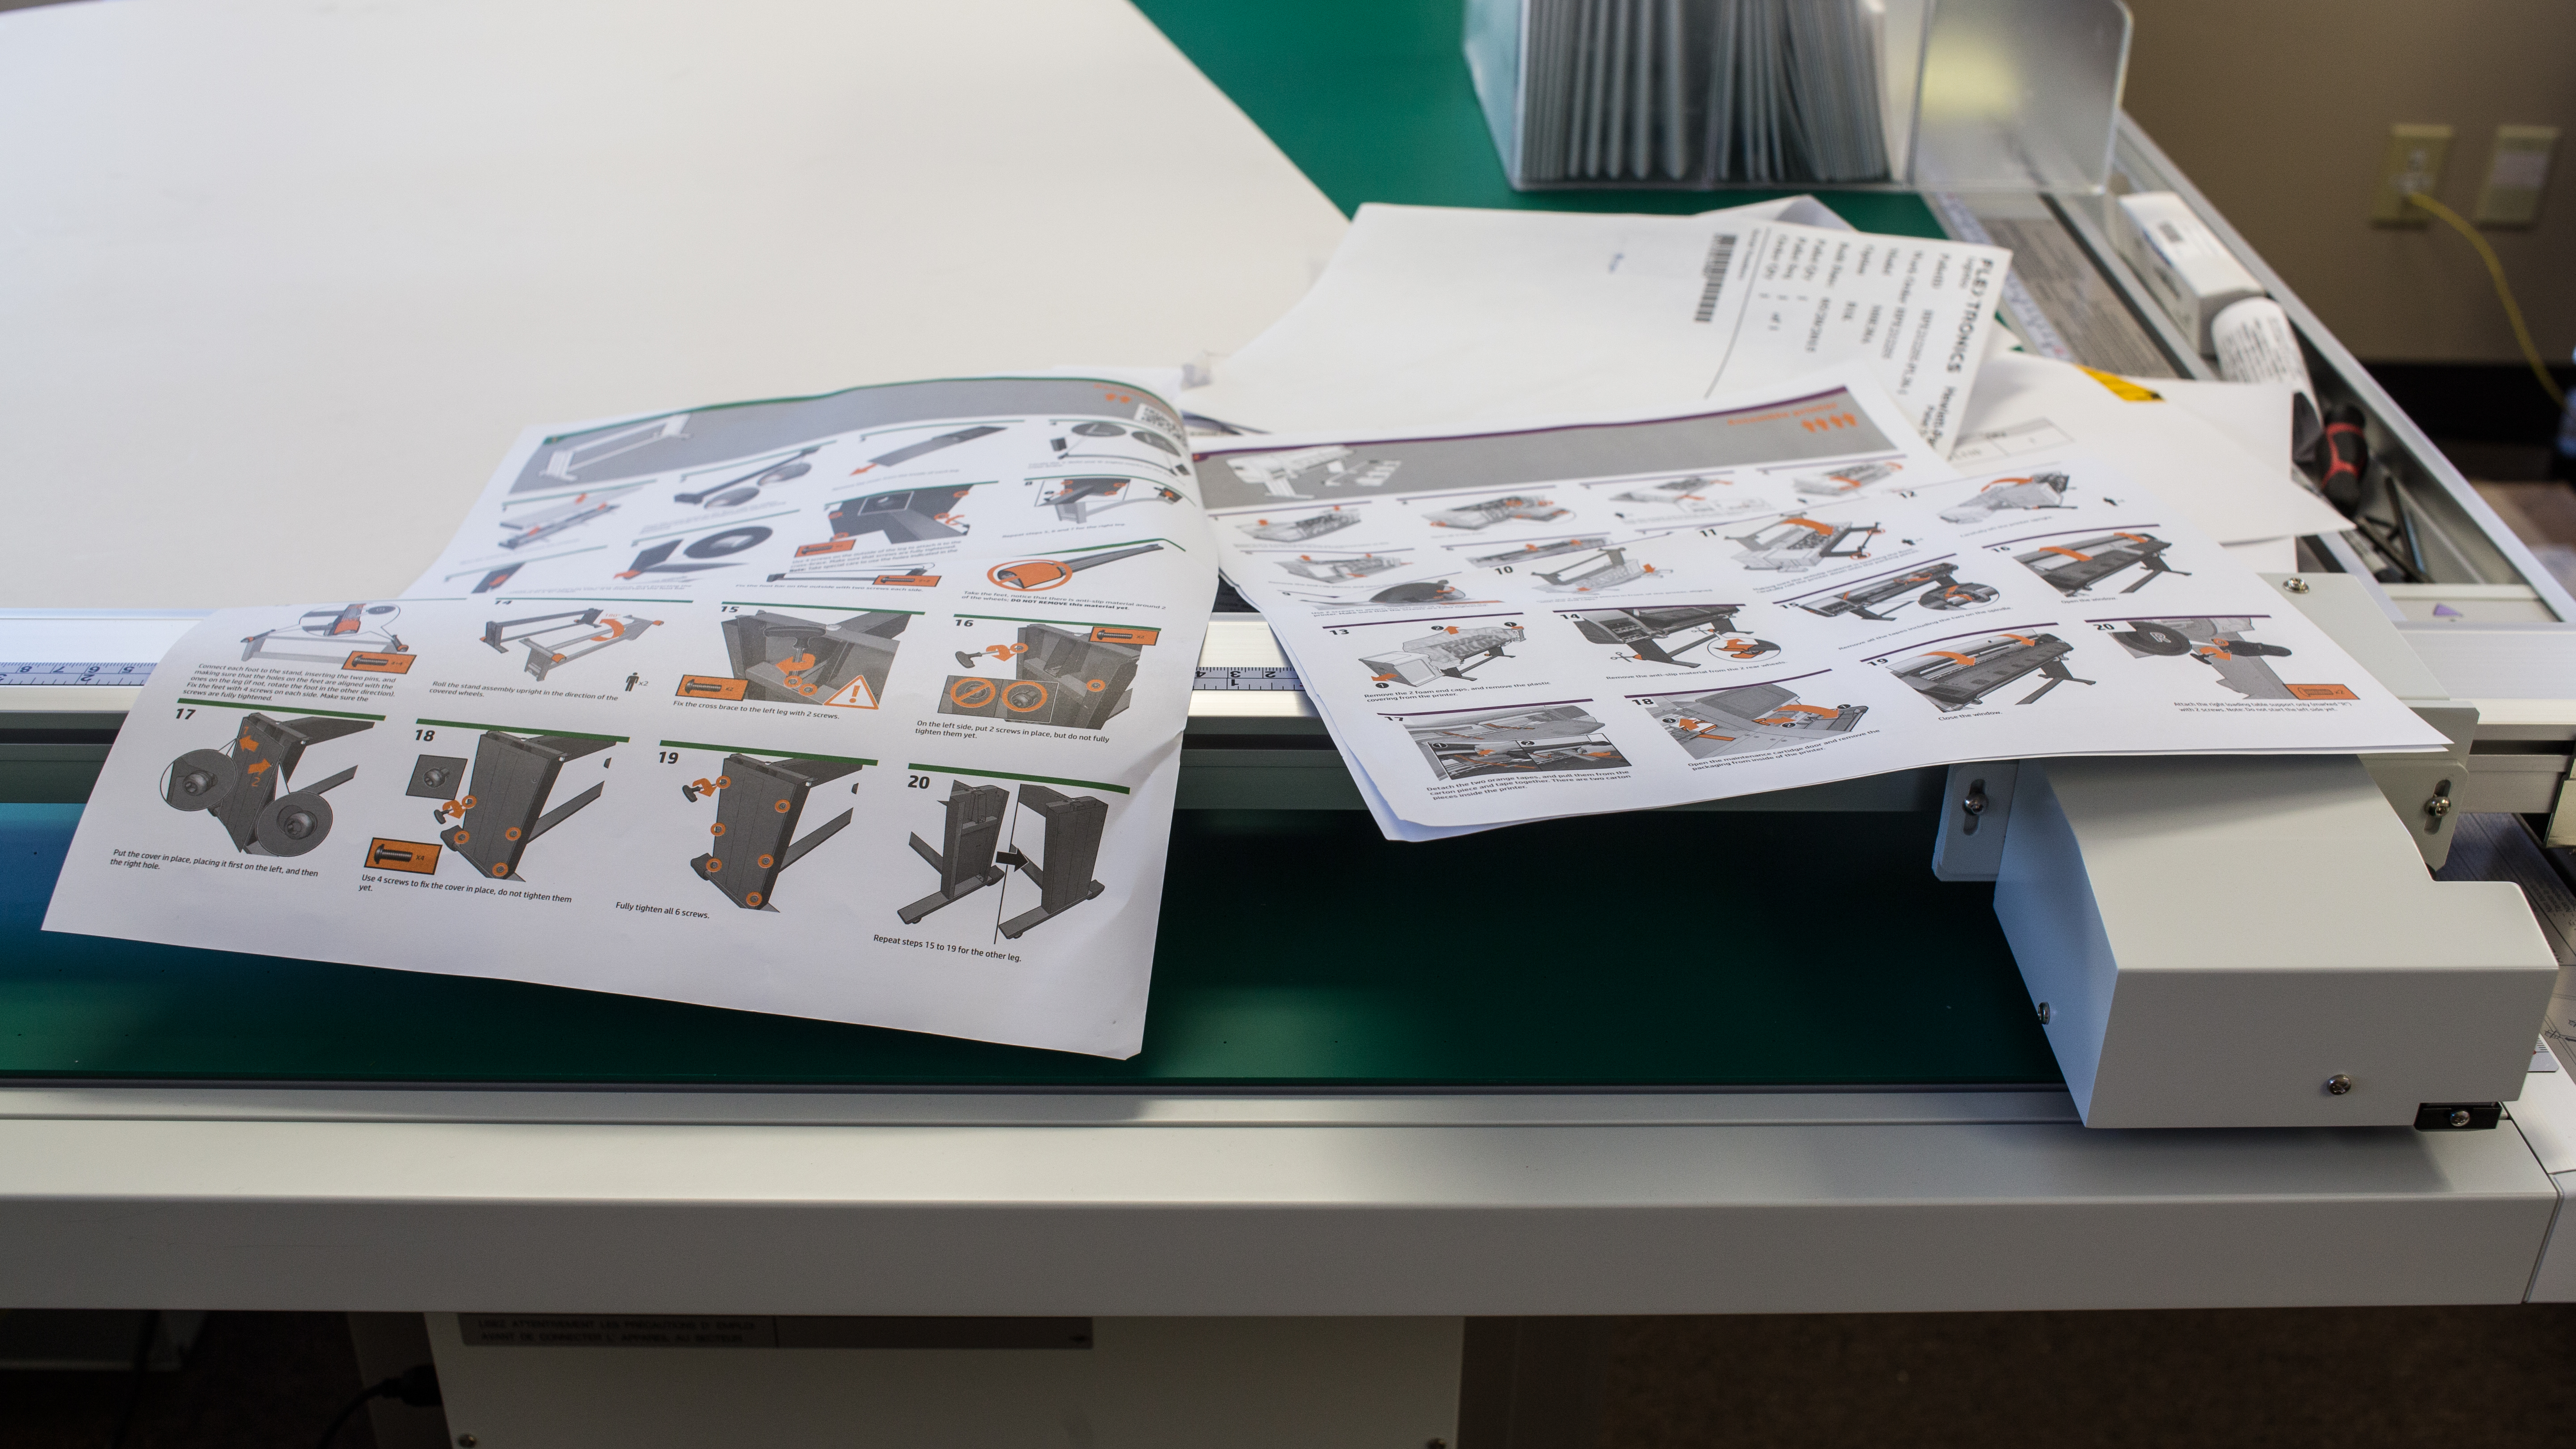
Hours passed and the machine was taking shape, whirring to life. I installed cartridges, printheads, all the while receiving prompts directly from the printer. I downloaded the RIP from the cloud. I had my fair share of hiccups, first and foremost of which was my failure to properly latch the print carriage. What was supposed to take 3 hours ended up taking me 6. But the point is, after all was said and done, that probably the hardest part about the whole installation process was opening up the box and finding the instructions. Welcome to the age of affordable accessible wide-format printing: the new HP 110 Latex Printer has arrived.

SHATTERING THE GLASS CEILING: Sublimating onto Glass with Clear Adhesive Vinyl

The list of what you can’t sublimate on is growing smaller every day. This new application shatters preconceptions of what can and can’t be produced on a sublimation printer, and is incredibly low cost.

Produce beautiful economical reproductions of classic works of art and photos for window graphics, glass frames, vehicle windshields and more!

Release your inner Da Vinci!
Capture iconic moments with low-cost of production and materials.

With a few simple materials, and a (cheap-relative to wide format latex or solvent) dye sub printer, and by following a few simple steps, you can easily achieve results like this….

WHAT YOU WILL NEED:

Dye-Sublimation Printer.

Heat Press [both of these pieces of equipment are available as a new USCutter bundle!]

GreenStar Clear Vinyl ($8.49 for a 12″ x 5yd roll).

Teflon Sheet.

Hobby knife. Squeegee.

Any high-quality image that you’d like to reproduce.


STEP 1:

Print any image (why not choose one with fine details and rich colors?) onto sublimation paper with your dye-sub printer. You can print directly from Windows Photo Viewer. Choose the highest quality setting.

STEP 2:

Pre-warm your heat press. Temperature should be set to 350° F; time to 30 seconds; and pressure should be quite firm.

STEP 3:

Cut a piece of clear adhesive vinyl large enough for your image from the roll. Put the piece of clear vinyl you have cut BACKING DOWN onto the lower heat press platen. Then put the sublimation paper face-down on top of the vinyl’s finished surface. Cover with a Teflon sheet (this is CRUCIAL). Press for 30 seconds.

STEP 4:

Remove Teflon sheet following the 30 second heat press cycle. THEN PEEL THE SUBLIMATION PAPER TRANSFER SHEET WARM TO THE TOUCH AS FAST AS YOU CAN. Let it cool a little but not too long or the sublimation paper will stick to the vinyl, and will be very difficult if not impossible to remove. As it is you may need a hobby knife to remove the paper completely.

Process is quick and easy. From print to window application in under 5 minutes!

STEP 5:

NOW HERE IS THE MAGIC PART. The sublimation inks have transferred to the other side of the clear vinyl and bonded to the adhesive side. Notice after peeling the vinyl backing how much more vivid the adhesive side is than the side with the finished surface.

STEP 6:

Now just apply to the back of any transparent substrate! Windows, glass frames, PLEXI Glass, vehicle windshields.

Depicts vivid color with fine detail.
Print right reading. Notice the difference front to back.

It’s bright, vivid, and cheap.

Try it out. Let us know what creations you come up with and earn a $50 credit towards your next purchase at USCutter.

BE AN UNSTOPPABLE SUCCESS WITH HP LATEX PRINTING TECHNOLOGY

Wide format digital printing technology is now within the reach of your home-based business, and the cost of entry is dropping every day.
HP Latex inks are dry instantly, odor and fume free, and last 3 years outdoors unlaminated.
Let your clients print the custom wallpaper of their dreams.
Wrap cars, boats, and brick walls with digital media options from HP and Orafol; there’s literally almost nowhere now where your message can’t be seen.

Come see us at the Seattle Small Business Expo.
Come see us at the Seattle Small Business Expo, or call us anytime to schedule a demo in one of our showrooms.

If you’re in the Seattle area on July 16th, go ahead and stop by our booth at the Small Business Expo at the convention center (#506). Or give us a call anytime, 1-425-481-3555, to schedule a demonstration of this equipment at our Redmond or Memphis showrooms. They are available any weekday with an appointment, and attending one makes you eligible for BIG DISCOUNTS! Call now for more information!