Did you ever want to isolate a shape in an image and cut just it out of vinyl?
It’s easy enough if you have some image editing skills and Photoshop or other high-end design software. The following tutorial is for the rest of us. Using just MS Powerpoint (included in the MS Office software suite) and your vinyl cutting software (in this case VinylMaster Cut), you can grab figures from photos and make cool vinyl silhouettes.
Step 1:
Select your image.

Step 2:
Open the image in PowerPoint.
Step 3:
Select the crop function from the “Format” menu.
Step 4:
Draw a box around the figure you want isolated and crop the image.
Step 5:
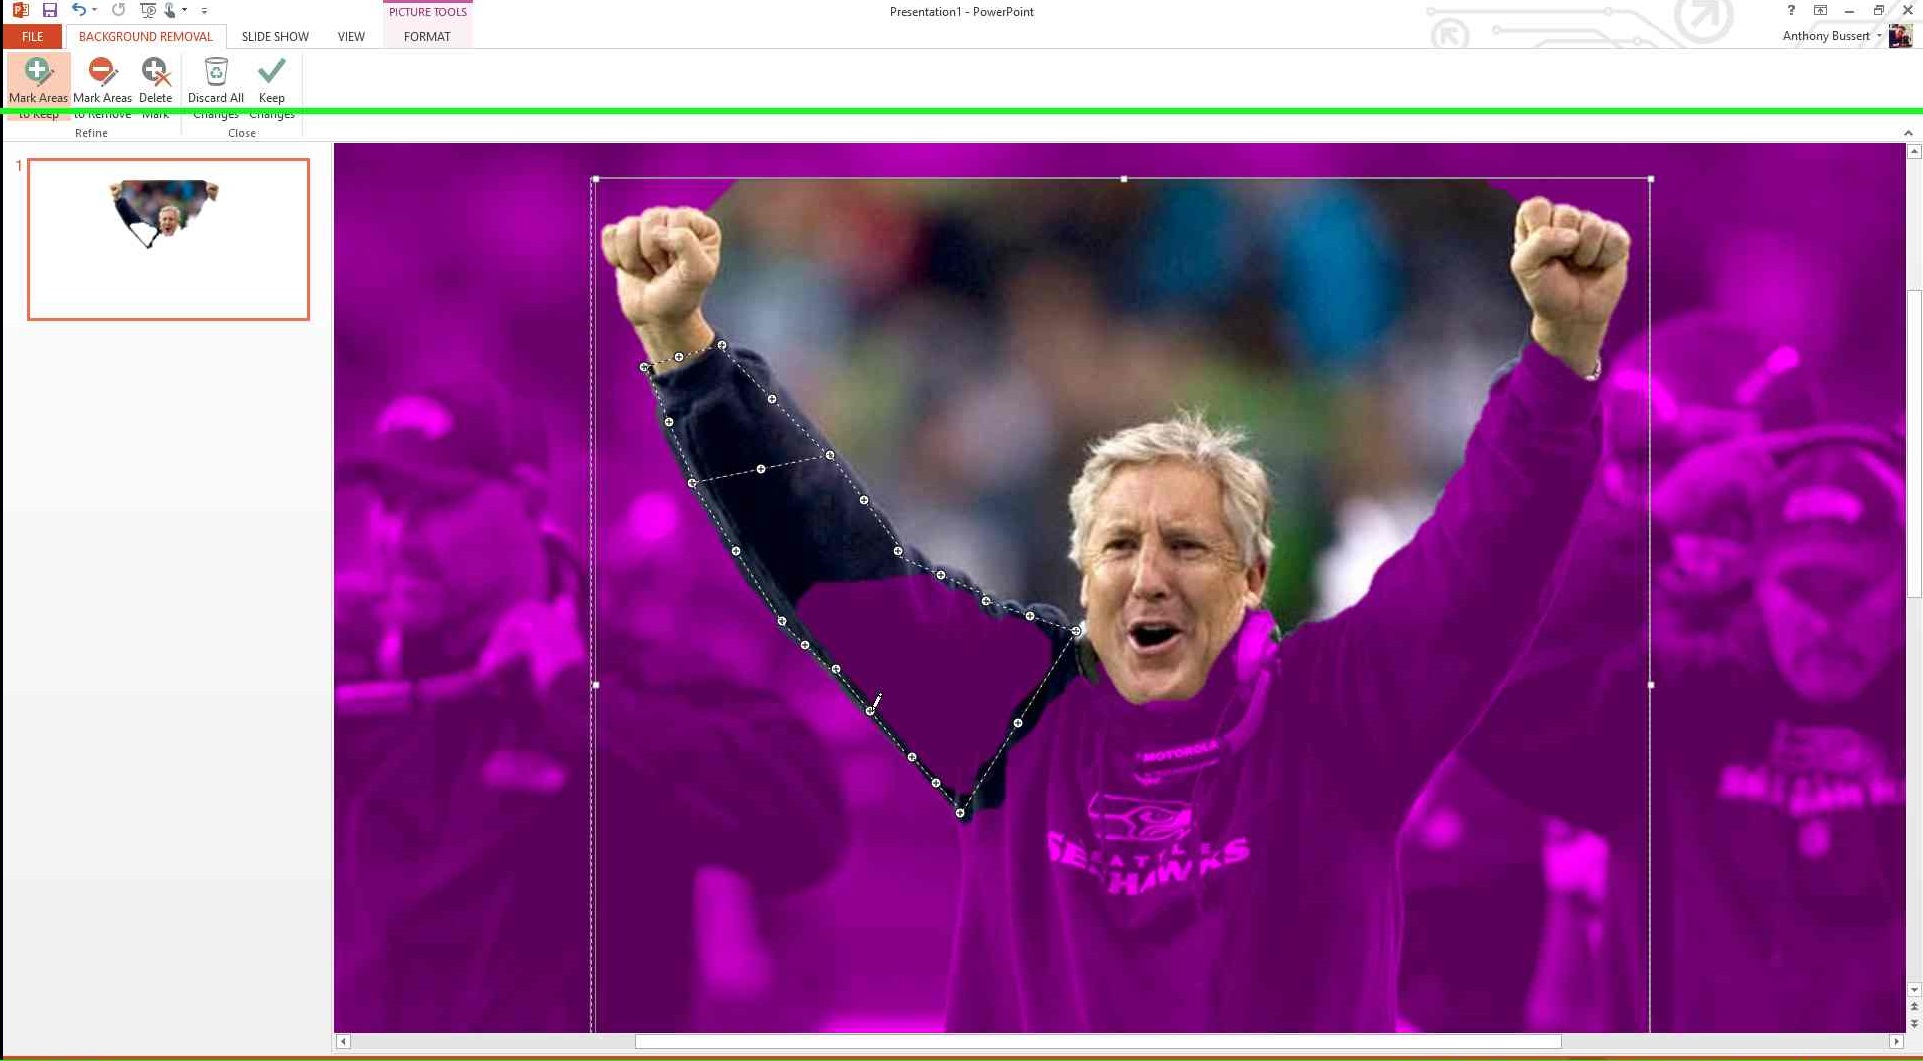
Select the “Remove Background” button. Draw a box around the figure you want to isolate from the background.
Step 6:
Select the “Mark Areas to Keep” button and you can draw segments using your mouse cursor around the parts of the image you’d like to keep. Once you have what you want, use the “Mark Areas to Remove” function to draw segments around the areas of the background you’d like to remove.
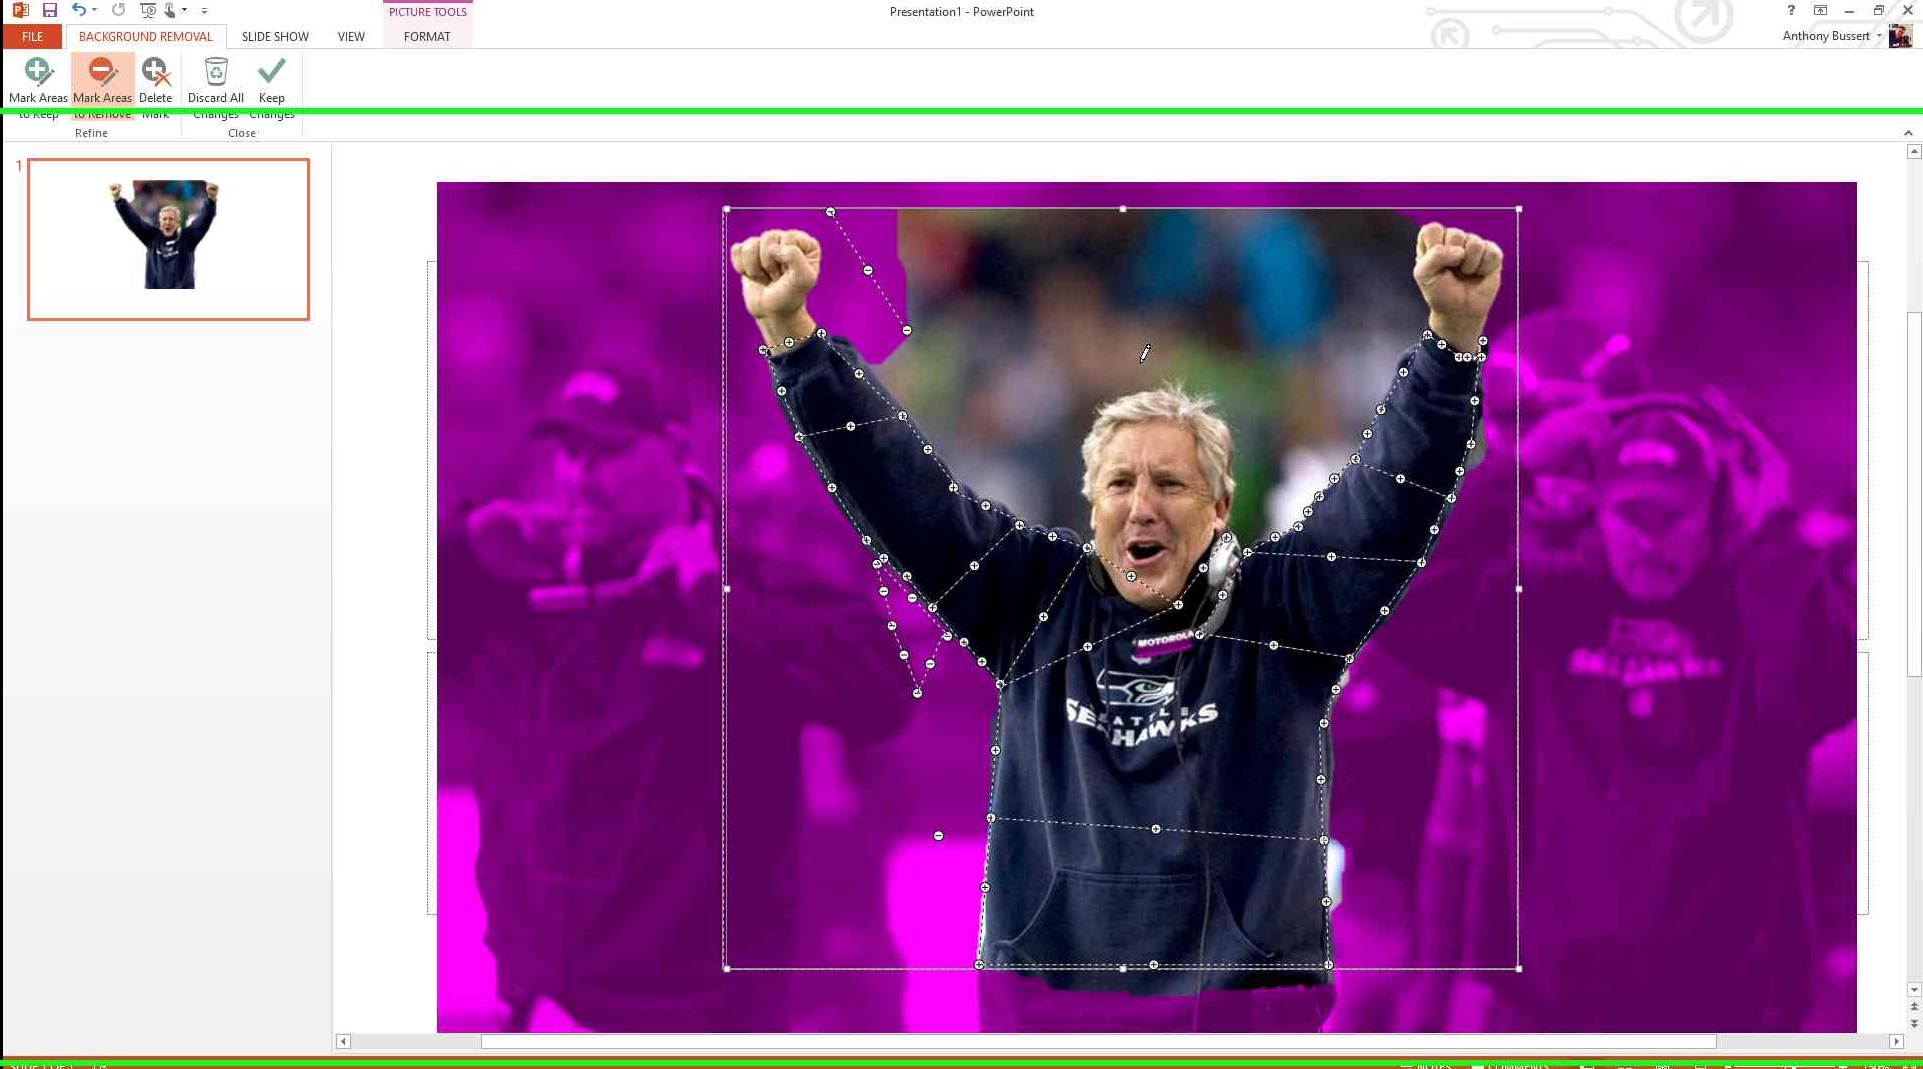
Step 7:
Once you have the isolated figure with all unwanted background removed, select the “Color” button and under the “Recolor” sub menu, select “Greyscale”. This will aid with creating a vector outline later. After the image has been rendered into greyscale, save your figure as an image file.

Step 8:
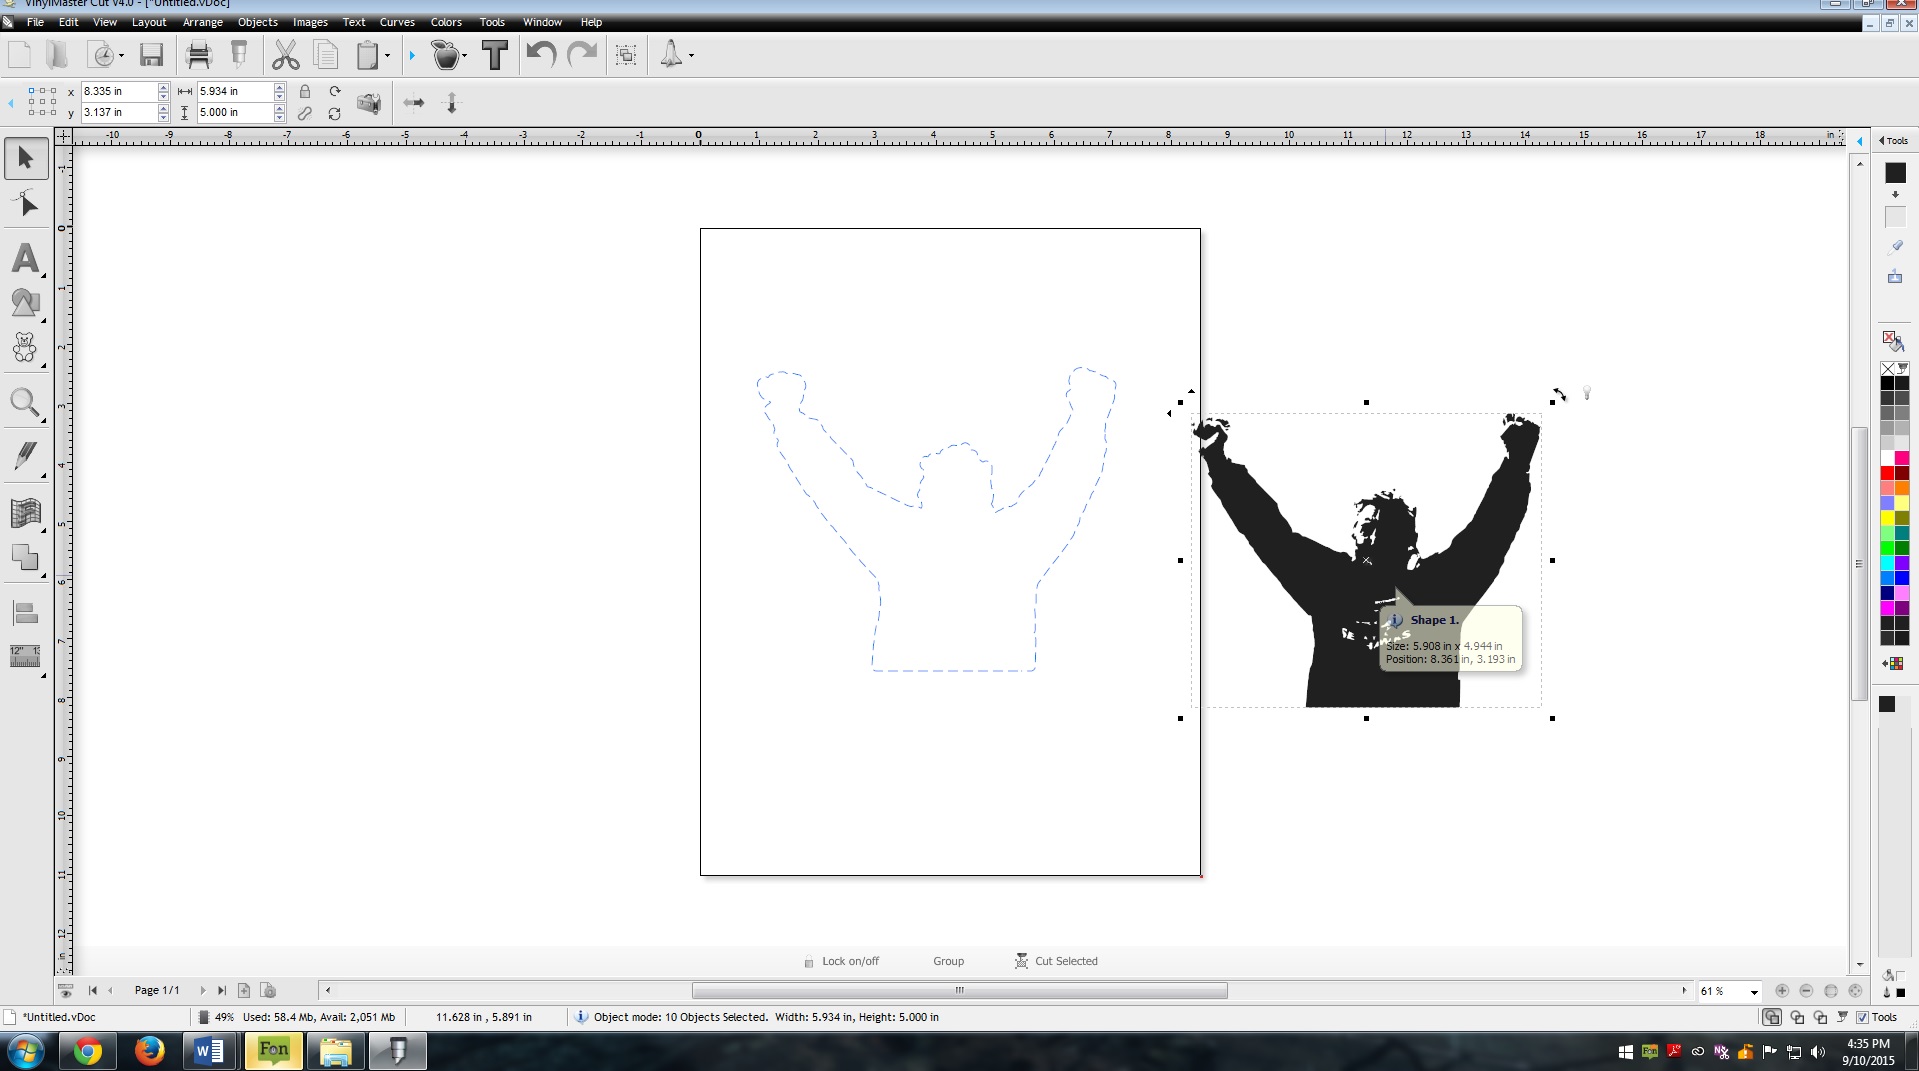
Open the image file in your vinyl cutting software. Vectorize it such that the figure is mostly solidly filled in. You may have to adjust your color settings to get as close as you can to a single solid-filled vector outline.
Step 9:
Now create a contour cut path around the figure. You can now send this to the cutter and you have a silhouette of the figure you isolated, in whatever color you want.
Tune in next time and see how great a simple black vinyl silhouette looks like on a plain white substrate. Kind of like an ink drawing! Good luck!